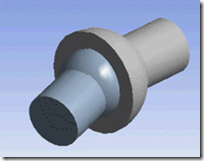
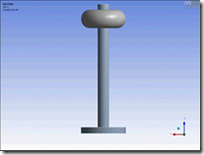
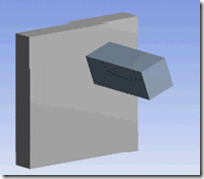
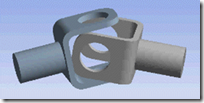
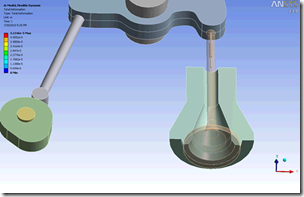
Most of us who have been doing this simulation thing for a while (in fact, if you still call it analysis instead of simulation you probably fall in this group) always think of ADAMS or DADDS when someone brings up Rigid Body Dynamics tools. Most people forget that ANSYS, Inc. has had a strong offering in this area for some time, and at R13 it really is mature and full featured.
 Background
A good place to start is to step back and describe what Rigid Dynamics is. That is the name ANSYS, Inc. uses, but many people refer to it as Kinematic/Dynamic, Multibody Dynamics, Rigid Body Dynamics (RBD), or motion simulation. In most case all of these names refer to a numerical simulation where:
- More than one part is connected as an assembly
- Joints defined between the parts
- Large deflection motion
- Time dependent motion (if not, then it is just kinematics)
- Parts are rigid (not flexible) in most cases
 Think back to your dynamics class, probably your sophomore year in college. Linkages, gears, cams, etc… You are basically solving for the full equation of motion where inertia, time, gyroscopics. And all that stuff is taken into consideration. The key thing to remember is that you can model a rigid system as a set of point masses (Bodies) with inertial properties and six degrees of freedom (UX/Y/Z, and ROTX/Y/Z) You then connect them by defining a relationship (Joints) between their degrees of freedom. You then apply forces, acceleration, velocity, and/or displacement over time and solve. To solve, the problem must be fully constrained in that there may not be any free DOF’s.
You can learn more background on Wikipedia: http://en.wikipedia.org/wiki/Multibody_system
The most comprehensive jumping off point I found for the topic is a website from the University of Waterloo: http://real.uwaterloo.ca/~mbody/
Rigid Dynamics in ANSYS
You have been able to do Rigid Dynamics in ANSYS MAPDL for a long time. MPC184 for joints and MASS21 for the bodies has been there since the Spice Girls were popular. But, you had to use the implicit solver in MAPDL which can take some time to solve a long problem. So ANSYS, Inc. has been working for a few releases now on an explicit rigid body solver that is much more efficient for this type of problem. You get access to the kinematic (no inertia terms, just motion) for free if you have ANSYS Professional NLS or better. To solve dynamics problems, you need a license for the Rigid Body Dynamics Solver as an add-on to ANSYS Professional NLS or better.
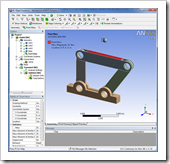
To create a model you simply insert a “Rigid Dynamics” system into your project:
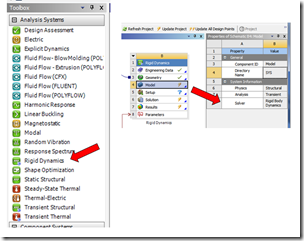 Figure 1: Rigid Dynamics System
It looks and acts a lot like an ANSYS Mechanical system, but is set up a bit differently to deal with the needs of Rigid Dynamics and to take away the things that you need for flexible FEA in ANSYS Mechanical.
Analysis Process
A real model can be very complicated and take some time to create, but the process of making it is the same regardless of the complexity:
Joints, Springs & Contact
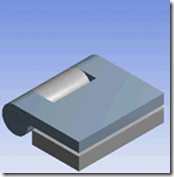
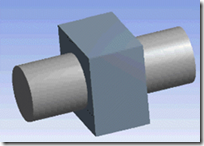
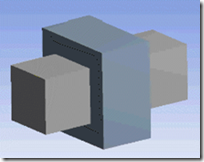
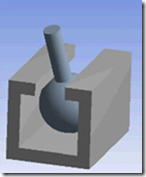
An important part of any Rigid Dynamics tool is the Joint Library. This defines what you can and can’t connect. The ANSYS tool has all of the standard options:
Table 1: Joints (Courtesy of the ANSYS User Manual)
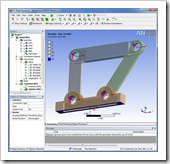
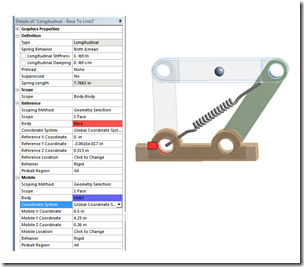
You define joints by selecting the Connections part of the tree and insert the Joint you want. Joints can be between two bodies or between a body and fixed ground. Each details view is a little different but most look like the one for the revolute joint:
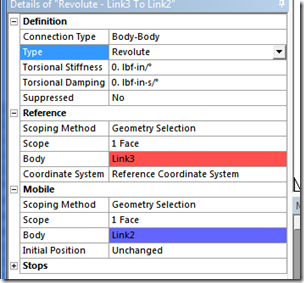 Figure 2: Revolute Details View
In most cases, defining the joints is very easy. You use the geometric feature that is in your real part to define the joint. Two holes for a revolute joint or a slot for a slot. The important thing to pay attention to for joints is which body is the reference body, and which is the mobile body. The first body you click on is the reference and the second is the mobile one. If you get it wrong, RMB on the joint in the tree and choose Flip Reference/Mobile.
Next, pay attention to your coordinate systems for the joint. By default, the coordinate system is defined in the reference face of the details and by default is aligned with the geometry you picked to define the reference. This is because the coordinate system needs to move with the geometry. If the reference geometry isn’t exactly what you want, you can change it by picking a new face, line, or point. Make sure you check the graphics window and that the coordinate system is in the right place.
Once your joints are done, you can insert the other type of connection, a spring. They work the same way except they define a force load on the bodies that is related to their relative position. You can have tension only, compression only, or a normal spring. They work like joints in that you specify two bodies or a body and ground to connect. You have more control on where the endpoints of the spring are, by specifying a piece of geometry or a point in a coordinate system. You can also add in preload.
You can also specify contact. But before you do, make sure that a joint won’t work first. If contact makes sense, then put it in just like you would in ANSYS Mechanical.
Other Stuff you Should Know
Sometimes you don’t have geometry? No worries. you can define a point mass and add in its inertia properties to get the same behavior.
The Rigid Dynamics solver has its own command language and just like when you use MAPDL as the solver, you can use code snippets to send it commands. It uses Python and the commands are documented in the help. The most common use for this is creating relationships between DOF’s that joints can’t do. Gears are the best example, you can specify that body 2 rotate twice for every time body 1 rotates, etc… It is also a good way to define a non-linear spring or a complicated stop condition.
Speaking of stops, you can specify stops and locks on the joints to control how far a joint can move and if it reaches that stop, that it freezes (lock).
Conclusions
And, without going into too much detail, that is Rigid Dynamics in ANSYS. You can see some cool examples on the ANSYS website:
http://www.ansys.com/Products/Simulation+Technology/Structural+Mechanics/ANSYS+Rigid+Dynamics#/0
The key as always is to take the time to really read understand the tool then crawl-walk-run. Don’t start with a 100 part assembly and expect it to work. Pick a simple assembly or a simple subassembly and go from there. In fact, regardless of your part, start with a four-bar linkage and get that going first.
Happy motion!

