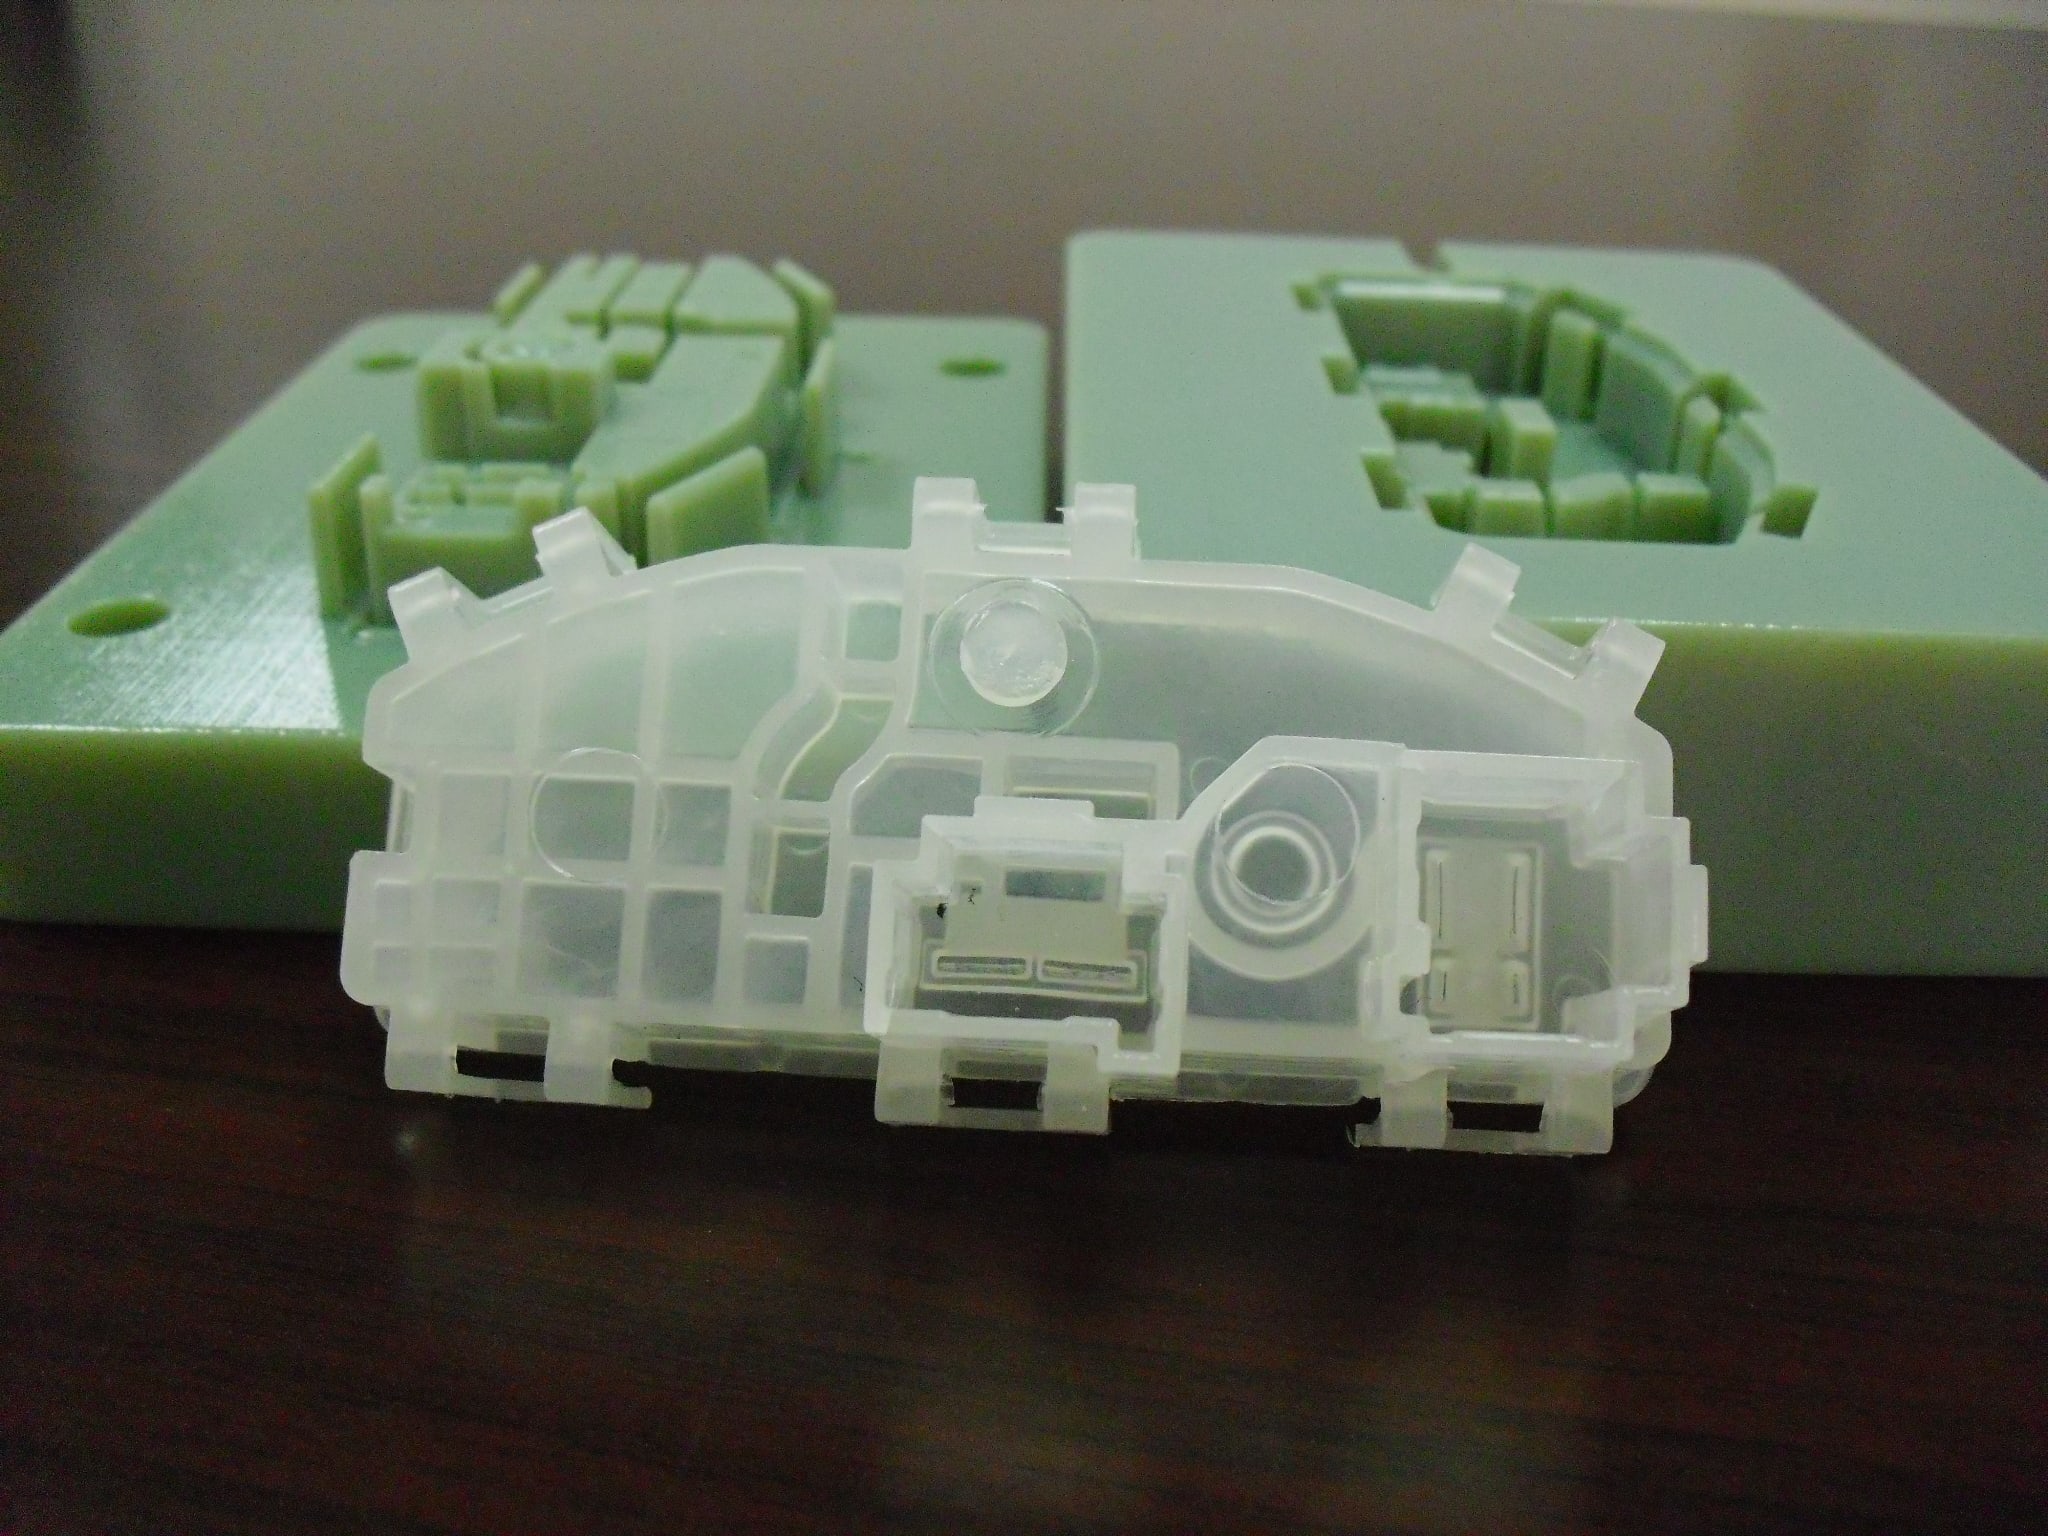
Making injection molding tools using 3D Printing has been a long term goal for the industry. I knew the technology had advanced recently, but was really not aware how far it had come until I attended two seminars in Utah on the subject. In this post I’ll share what I learned, and share some content that goes into greater detail.
Here is a video they made showing the process. He was able to get 950 shots out of the tool.
The Seminars
The reason for my update on this subject was a visit to PADT’s Utah office. Our two people there, Anthony Wagoner (sales) and James Barker (engineering), told me they were doing a seminar on injection molding and I should go. I figured why not, I’m in town. Maybe I’ll meet a couple of customers. Almost 30 people showed up to the Salt Lake Community College Injection Molding lab for the event. Gil Robinson from Stratasys presented a fantastic overview (included in the download package) on where the technology is, how to apply it, and gave some great real world examples. There were some fantastic questions as well which allowed us to really explore the technology
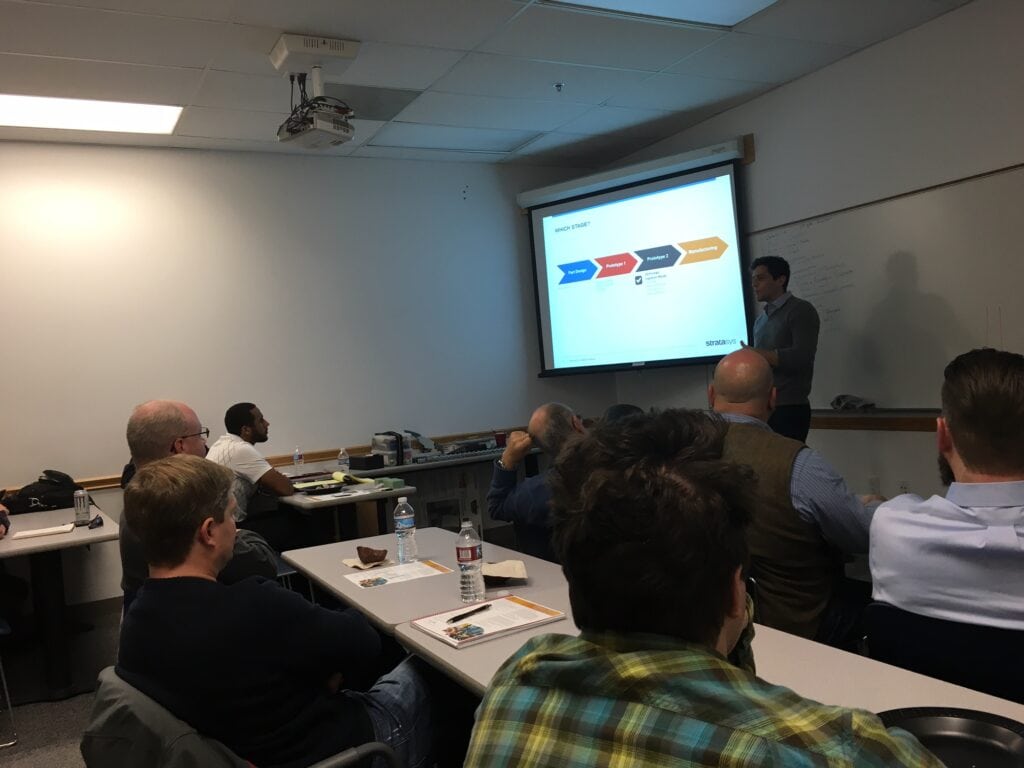
Then the best part happened when we walked into the shop and saw parts being made right there on the machine. They had recently printed a tool and were shooting polypropylene parts while we were in the classroom next door. During the hour long presentation, Richard Savage from ICU Medical was able to fine-tune the injection molding machine and good parts were popping out. As you can imagine, what followed next was they type of discussion would expect with a room full of injection molding people. “What material? How hot? What pressure? What is the cooling time? Do you use compressed air to cool it? Not a lot of flash, how hard are you clamping it? These features here, what draft did you need?” Good stuff. I got caught up in everything and forgot to grab some pictures.
I learned so much at that event that I decided to head north along the Wasatch Range to Clearfield and the Davis Applied Technology College. About the same number of people were able to make it from medical, aerospace, and consumer products companies in Northern Utah. Gil presented the same material, but this time we got some different questions so I learned a bit more about material options and some other lessons learned.
Then we visited their lab where I did remember to take some pictures:
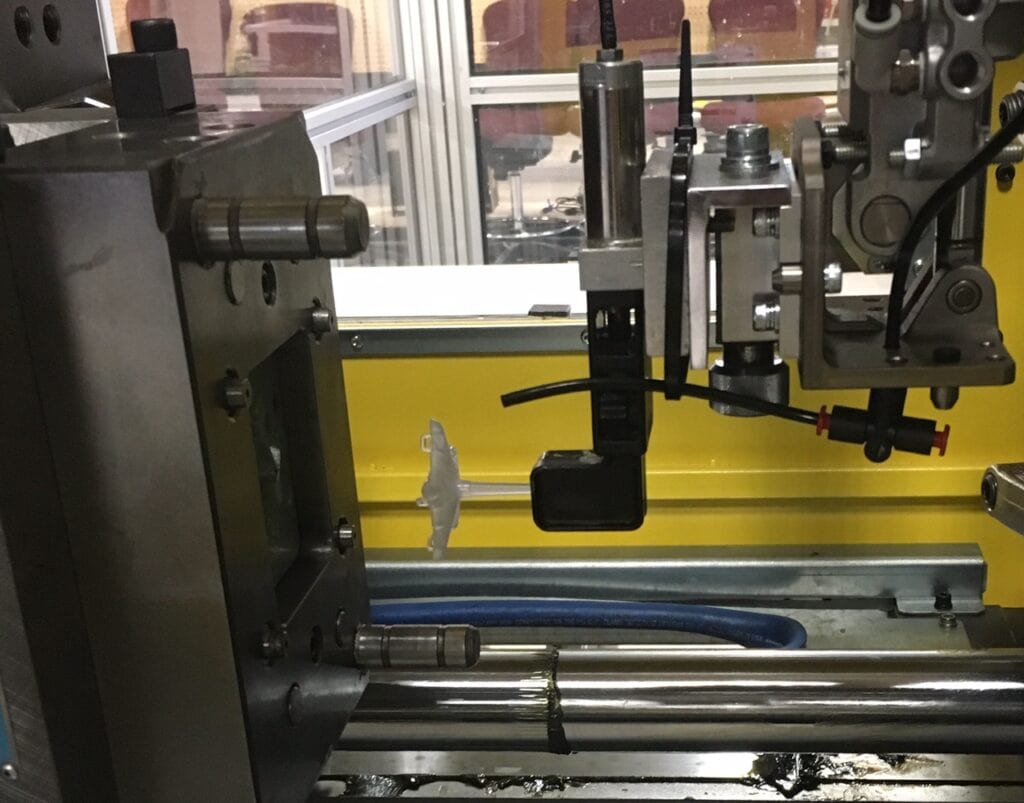
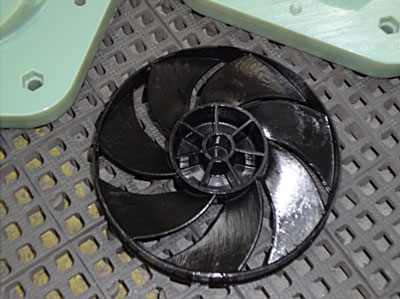
Here is a shot of different shots that Jonathan George from DATC did to dial in the parameters. It took him about an hour, not bad for the first time using a 3D Printed tool.
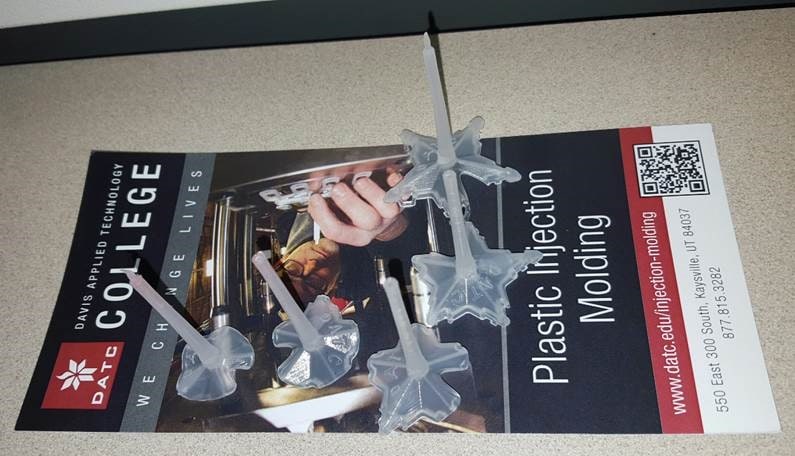

The part is actually a clam shell assembly for Christmas lights, in the shape of a snow flake. Here is what they look like on the tree itself.
In talking to attendees at both events I learned of several great applications that they were going to try, varying from medical devices for clinical trials to making rubber masking tools for surface treatments. The injection molding community in Utah is very sophisticated and forward thinking.
What I Learned
I’ll spare you the details on what we had for dinner Monday night for the Utah office holiday celebration and jump right in to what I learned.
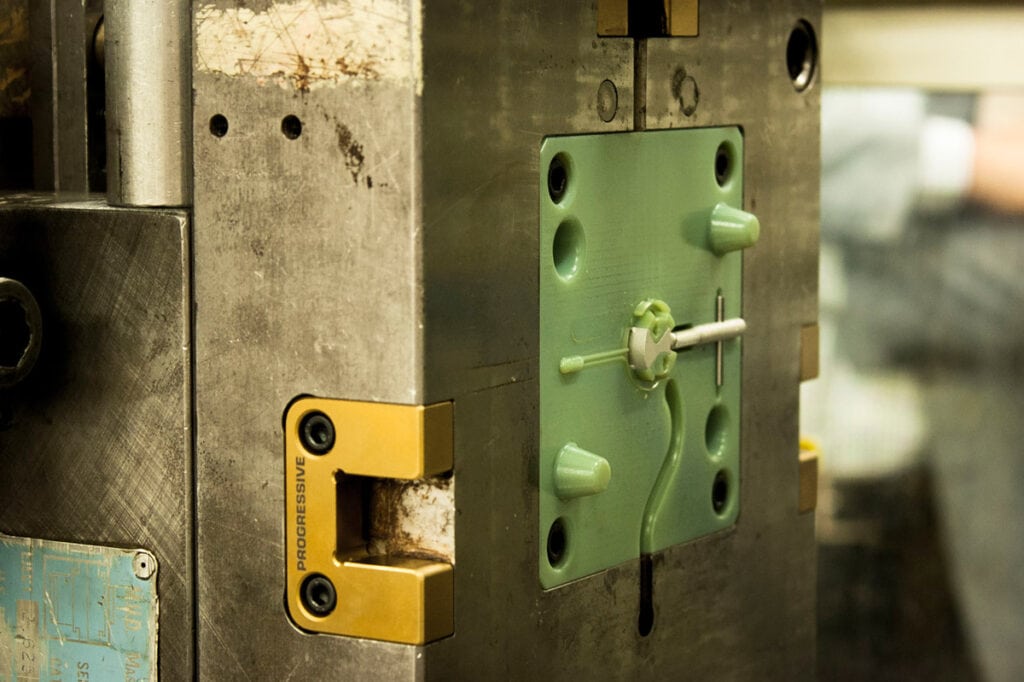
- For the right applications, you can get some very nice parts from 3D Printed tools
- You do need to take the process in to account and oriented the tools facing upward in the machine, add a bit more draft than usual, and keep your pressures and temperature down when compared to metal tools.
- For some parts, you can get over 1,000 shots from a tool, but most poeple are getting a couple of hundred parts.
- As with any injection molding, the magic is in the tool design and setting up the right parameters on the injection molding press.
- Tricky parts can be made by using metal inserts
- Some machining may be required on your 3D printed tool to get it just right, but that is mostly reaming holes for ejector pins and metal inserts
- Plastic is an insulator (duh) so plastic tools have to be cooled more slowly and with air.
- Conformal cooling is a great idea, but some work still needs to be done to get it to work.
- The mold usually fails during part ejection, so using mold release, good draft, and proper design can reduce the loading during ejection and get more parts from the tool.
- The material of choice for this is DigitalABS on Stratasys Connex Machines.
There was a ton more, and you can find most of it in the download package.
The big take-away from both events was that this technology works and it really does allow you to create an injection molding tool in a couple of hours on a 3D Printer. In the time it normally takes to just get the order figured out for a machined tool (RFQ, Quote, Iterate, PO, etc…) you can have your parts.
Next Steps
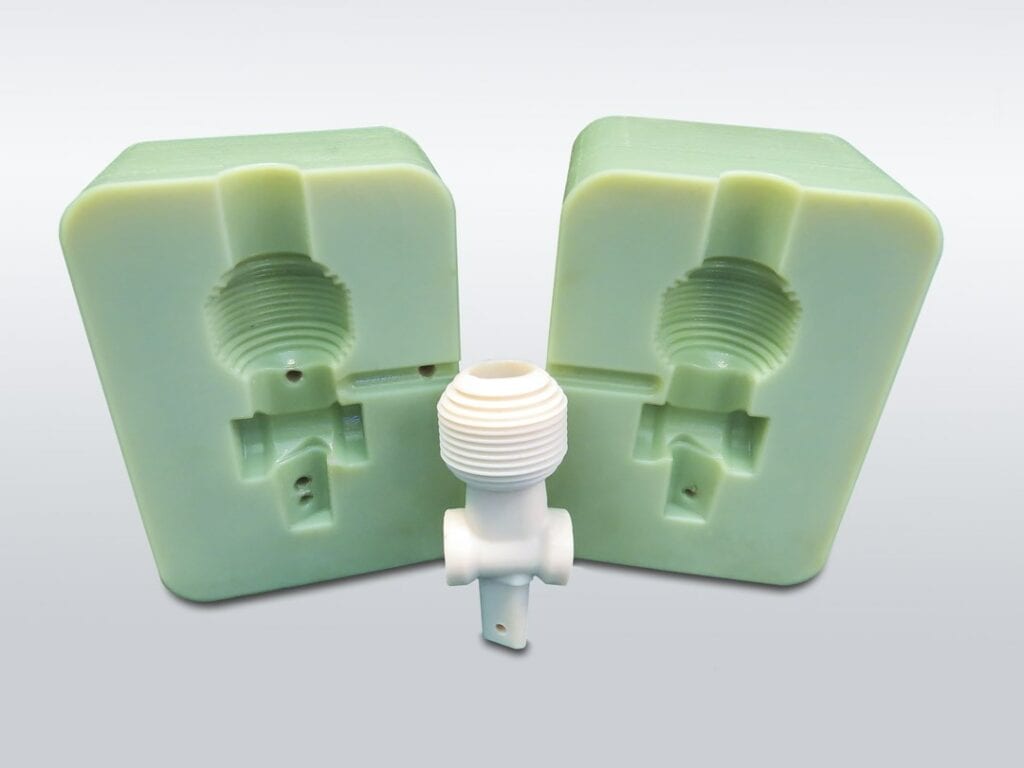
Interested in trying this out yourself or learning more? We have put together an injection molding package with the following content:
- Polyjet Injection Molding Application Brief
- 18 Page Polyjet Injection Molding Technical Guide
- 12 Page White Paper: Precision Prototyping – The Role of 3D Printed Molds in the Injection Molding Industry
- 3D Printed Injection Molding Application Guide from PADT and Stratasys
- Presentation from Seminars
- List of Relevant Videos
- Four Real World Case Studies
- Link List for Other Resources on the Web
We have spent some time putting all this information in one place and put it into one convenient ZIP file. Please click here to download this very useful content.
