Western Technology is a manufacturer of specialty lighting solutions that cater to a variety of highly specialized industries such as aviation, oil and gas, and maritime. Their products are used in a variety of environments making it important that the design is both versatile and functional.
In their Utah office, they have been successfully utilizing a Stratasys PolyJet 3D Printer to create polyurethane molds. By using 3D printed molds, they have been able to save both time and money over traditional manufacturing methods.
Western Technology’s 3D Printed Toggle Mold
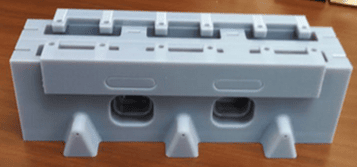
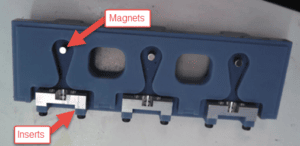
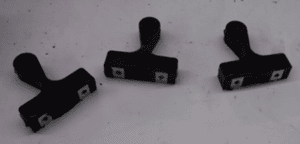
“Below is a pictorial of how we’ve used our new 3D printer to develop and create polyurethane parts. The parts we are producing in this mold are used to trigger a magnetic sensor inside a sealed aluminum box. Each part has a magnet and aluminum insert cast inside.” Lyal Christensen at Western Technology
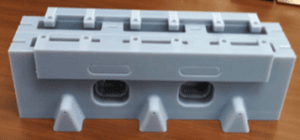
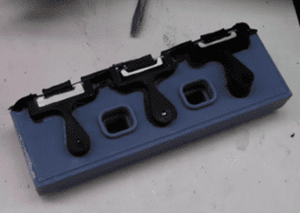
The mold was printed using a Stratasys Objet 500 Connex 1 printer in a Vero Blue material (standard plastic). This is the final result after support material has been removed.
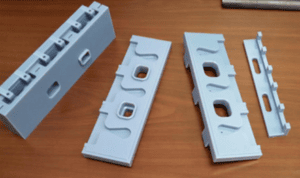
The mold is comprised of two halves that each have 3 different parts to create this Polyurethane mold. Below one side is shown in an un-assembled view.
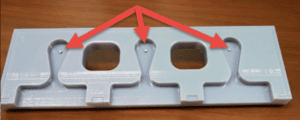
Steel pins are press fit into the 3D printed part with ease to help with locating the magnets in the correct location. Also you can see that the part has a gloss finish to it. The parts were printed in the glossy mode which helps in minimizing the amount of support material needed to print the parts.
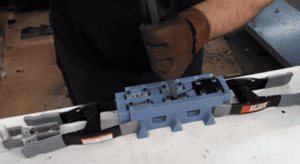
Inserts and Magnets are added to the mold along with a Urethane mold release agent. The Aluminum inserts are held in the right place by screws that keep the inserts suspended so that the Urethane can engulf all sides of it.
The clamped mold then has the Urethane fed into it which is poured at room temperature. Once all of the cavities are filled, the mold is left to cure at room temperature for just under one hour. Using this technique, they are able to complete 6 or 7 sets per day.
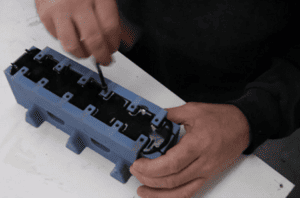
The following morning the screws and the insert bridge are removed.
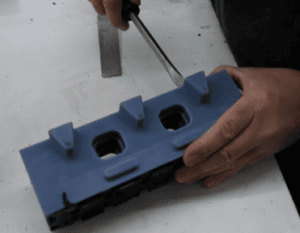
The mold is pried apart using a flathead screwdriver at specific cutout locations that were printed into the mold. With a simple turn of the wrist, this mold is easily separated.
There is a little bit of flash which can easily be removed. These parts are almost ready for the customer.
The parts are cut away and are ready for de-flashing and finishing.
At Western Technology, Lyal estimates this mold would have cost $2,000+ to manufacture in just man hours. They were able to get 400+ parts out of this mold and are still using it.
If you would like to learn more about how to implement 3D Printing into your processes to save time and money, contact us at sales@padtinc.com.

