I have always had an issue with leaving well enough alone since the day I bought my Subaru. I have altered everything from the crank pulley to the exhaust, the wheels and tires to the steering wheel. I’ve even 3D printed parts for my roof rack to increase its functionality. One of the things that I have altered multiple times has been the shift knob. It’s something that I use every time and all the time when I am driving my car, as it is equipped with a good ol’ manual transmission, a feature that is unfortunately lost on most cars in this day and age.

I have had plastic shift knobs, a solid steel spherical shift knob, a black shift knob, a white shift knob, and of course some weird factory equipment shift knob that came with the car. What I have yet to have is a 3D printed shift knob. For this project, not any old plastic will do, so with the help of Concept Laser, I’m going straight for some glorious Remanium Star CL!
One of the great things about metal 3D printing is that during the design process, I was not bound by the traditional need for a staple of design engineering, Design For Manufacturing (DFM). The metal 3D printer uses a powder bed which is drawn over the build plate and then locally melted using high-energy fiber lasers. The build plate is then lowered, another layer of powder is drawn across the plate, and melted again. This process continues until the part is complete.
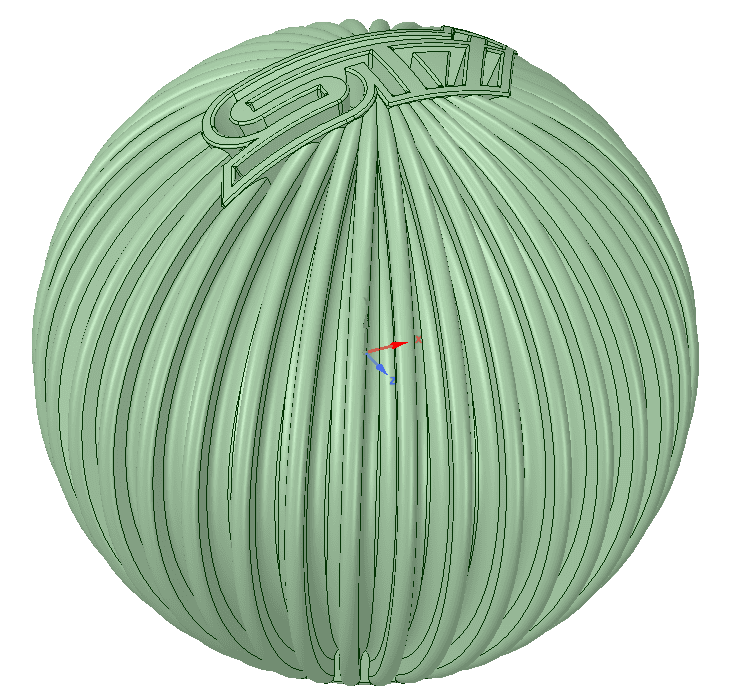
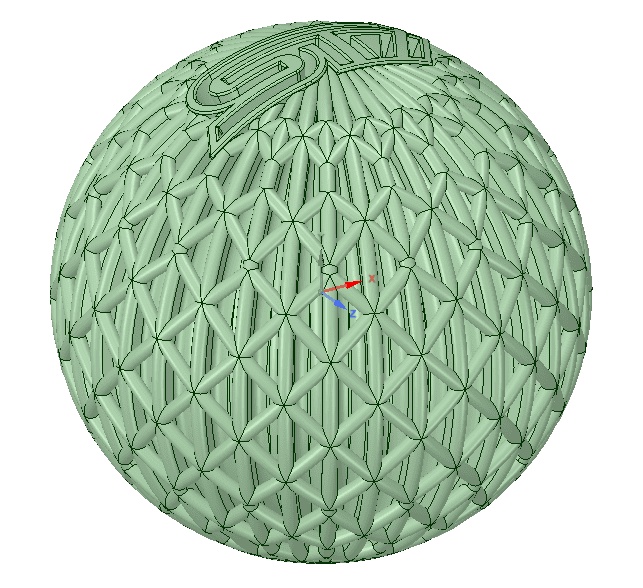
The design for the knob was based off my previously owned shift knobs, mainly the 50.8 mm diameter solid steel spherical knob. I then needed to decide how best to include features that would render traditional manufacturing techniques, especially for a one-off part, cost prohibitive, if not impossible. I used ANSYS Spaceclaim Direct Modeler as my design software, as I have become very familiar with it using it daily for simulation geometry preparation and cleanup, but I digress, my initial concept can be seen below: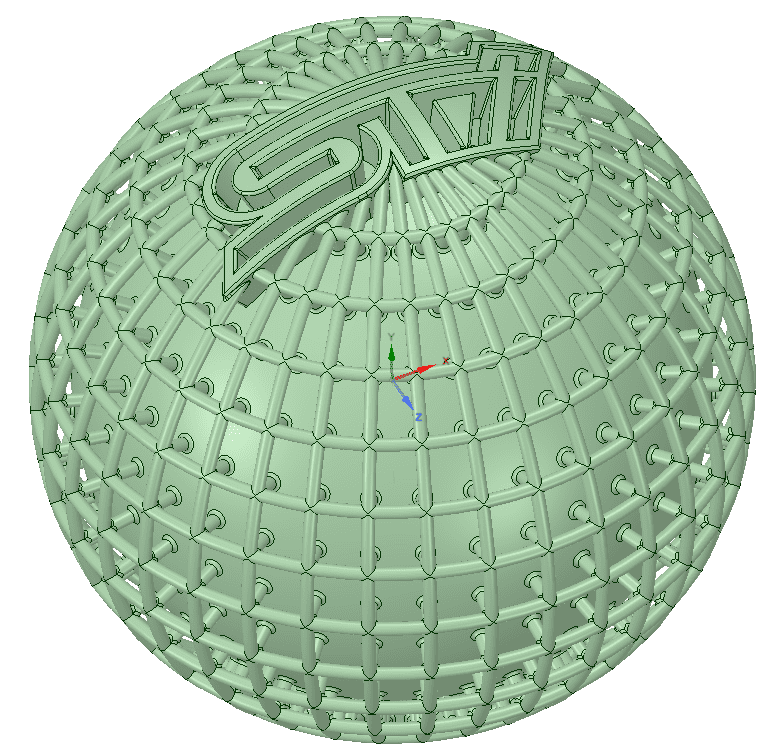
I was quickly informed that, while this design was possible, the amount of small features and overhangs would require support structure that would make post-processing the part very tedious. Armed with some additional pointers on creating self supporting parts that are better suited for metal 3D printing, I came up with a new concept.
This design is much less complex, while still containing features that would be difficult to machine. However, with a material density of 0.0086 g/mm^3, I would be falling just short of total weight of 1 lb, my magic number. But what about really running away from DFM like it was the plague?
There we go!!! Much better, this design iteration is spec’d to come out at 1.04 lbs, and with that, it was time to let the sparks fly!
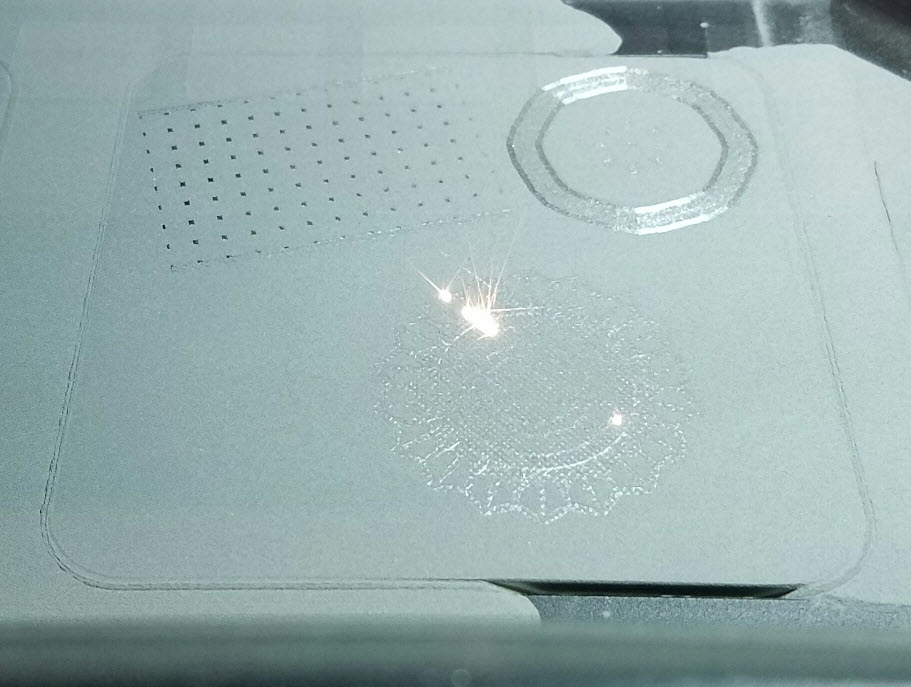
Here it is emerging as the metal powder that has not been melted during the process is brushed away.

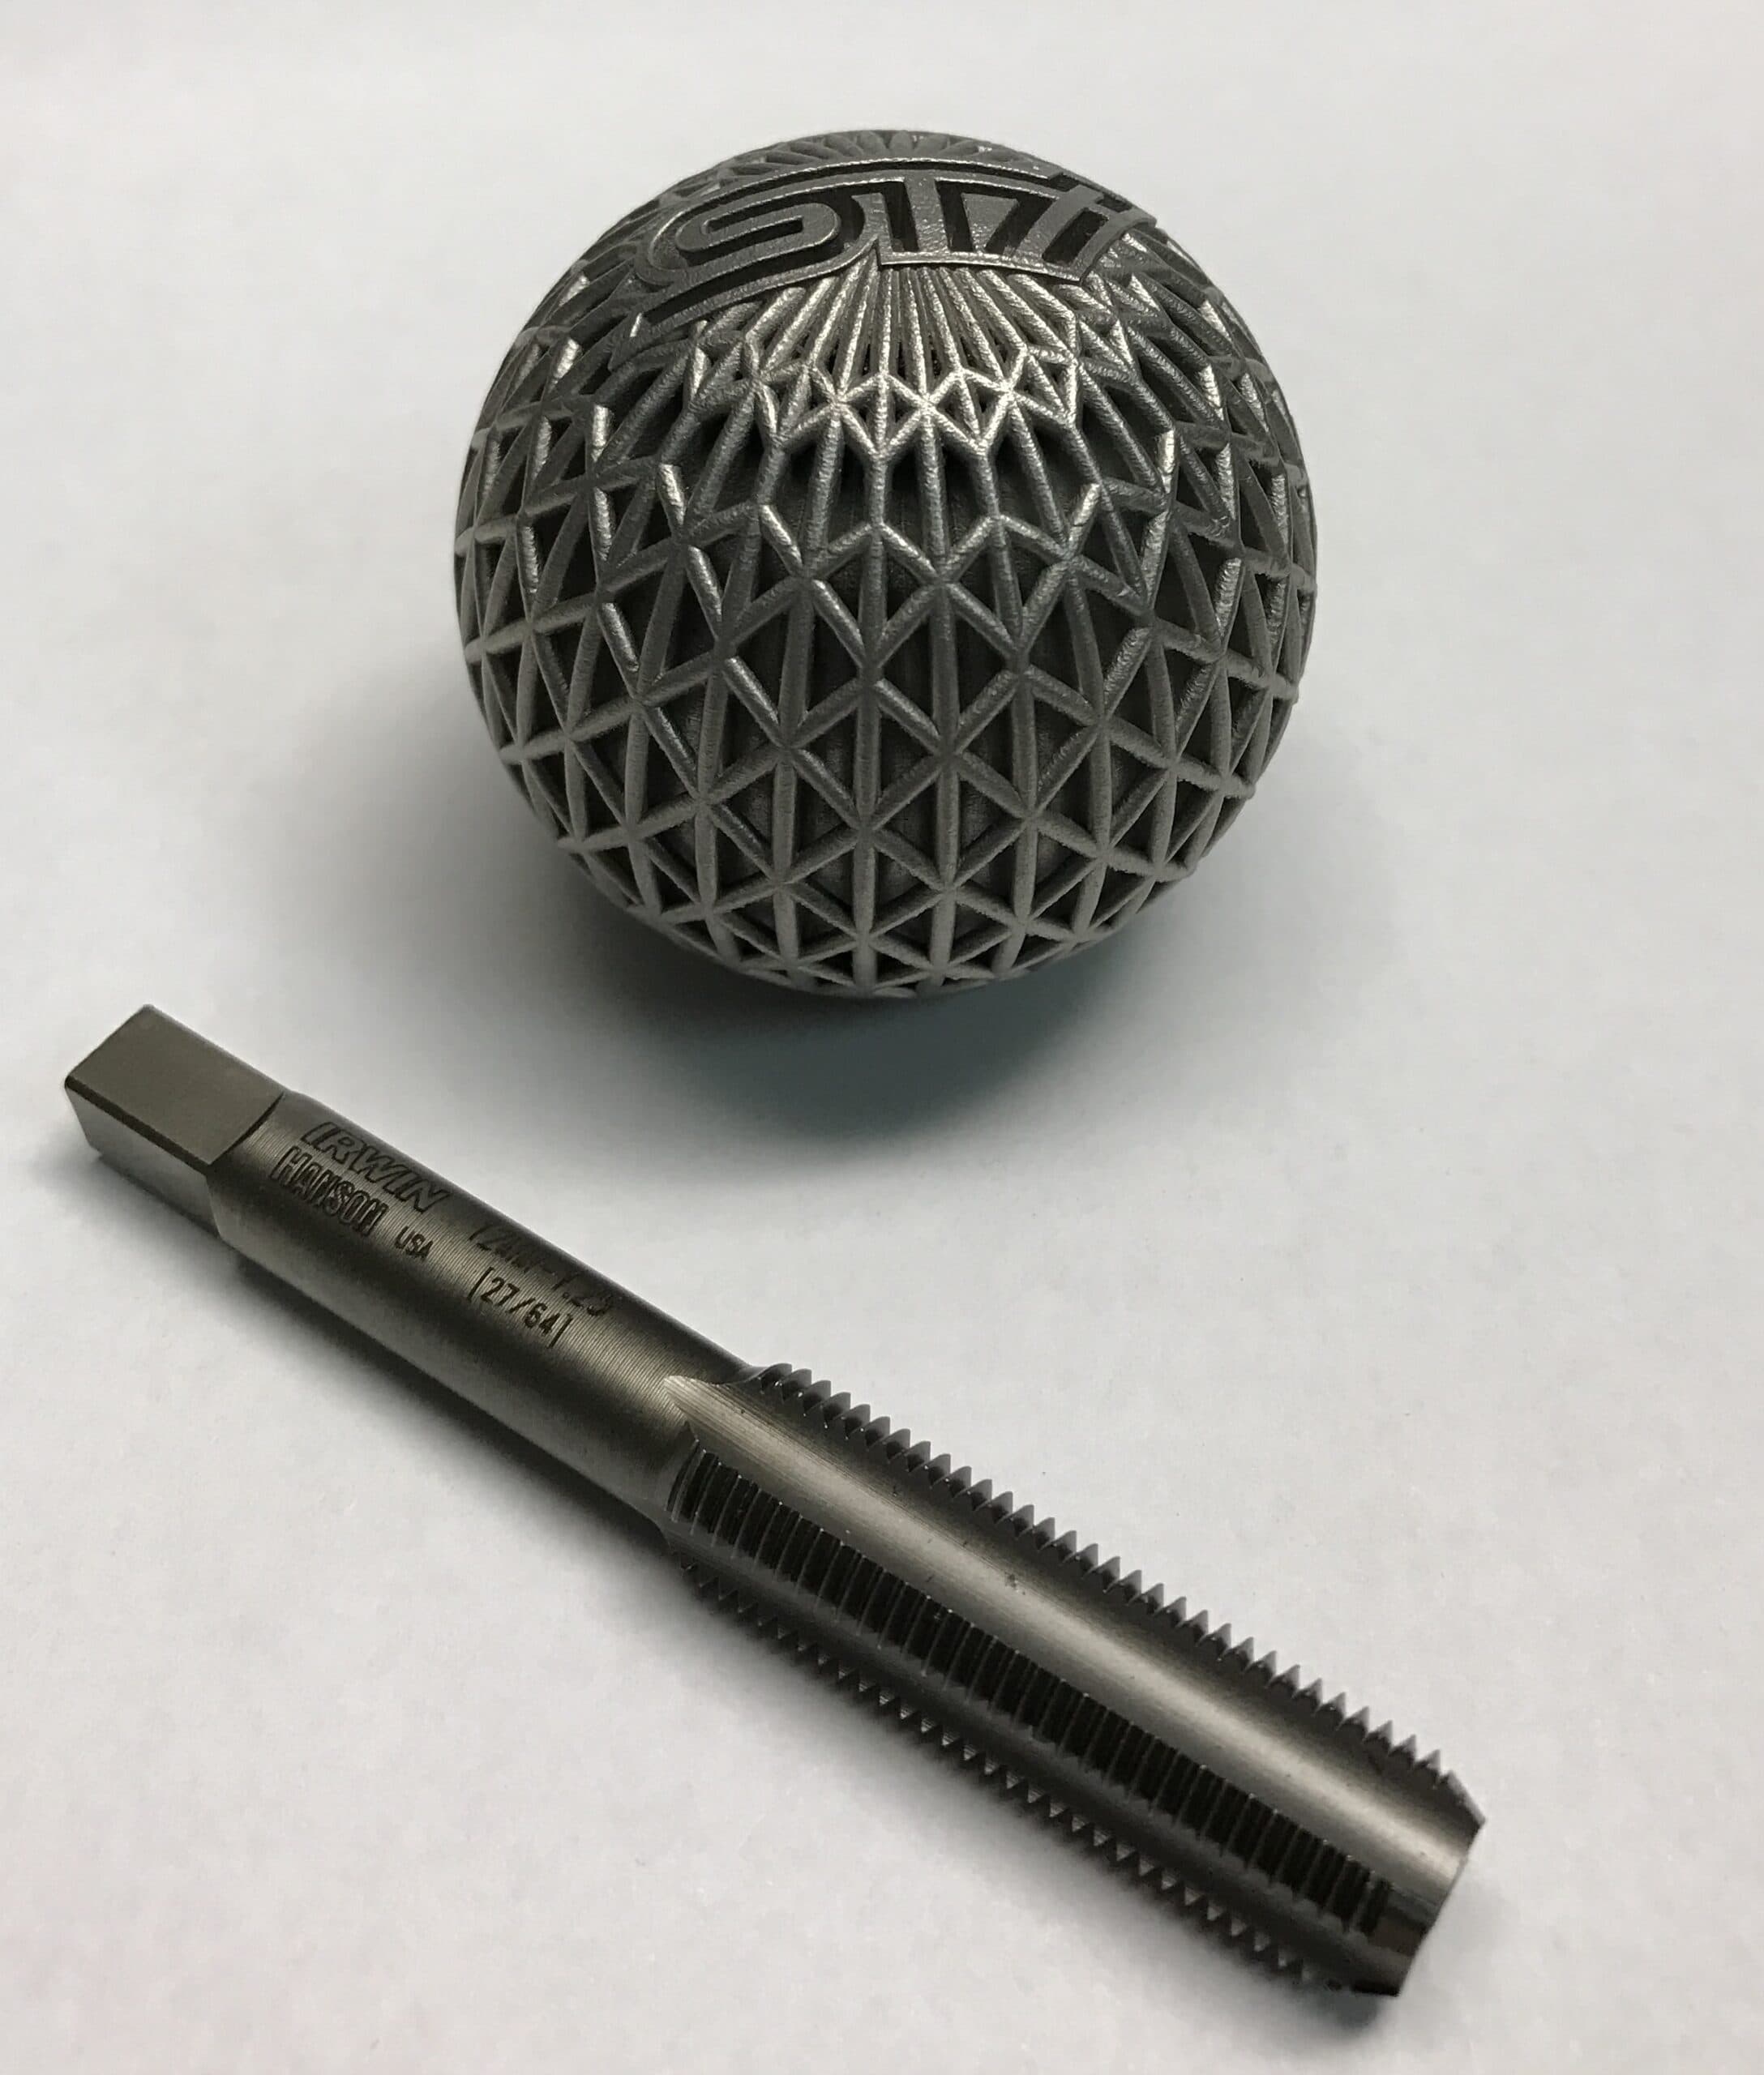
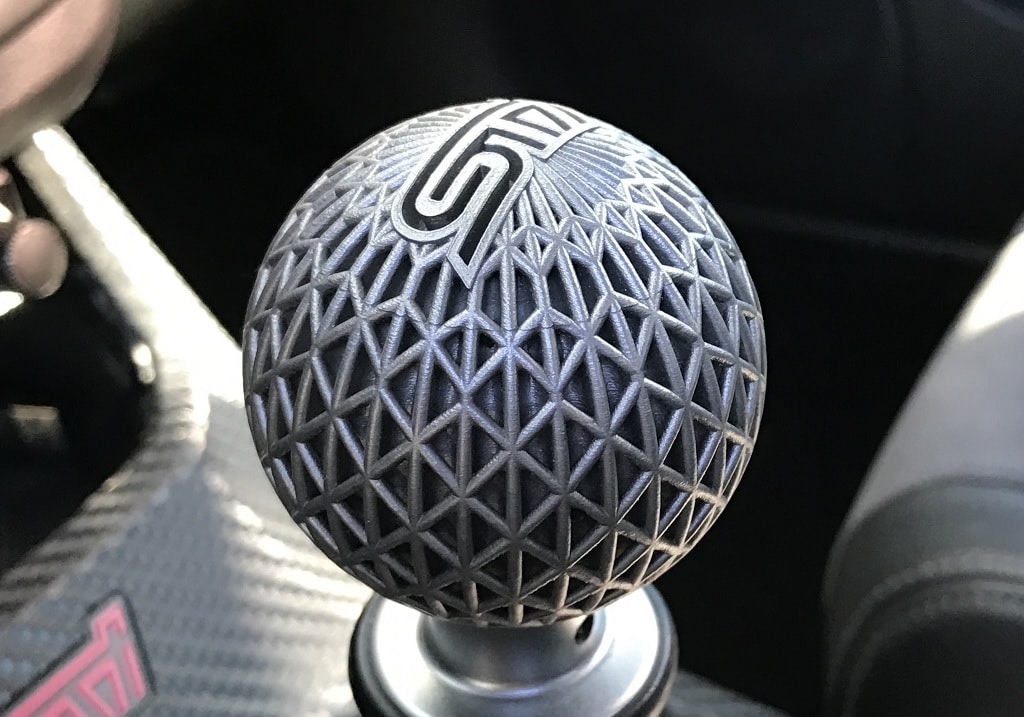
The competed knob then underwent a bit of post processing and the final result is amazing! I haven’t been able to stop sharing images of it with friends and running it around the office to show my co-workers. However, one thing remains to make the knob functional… it must be tapped.
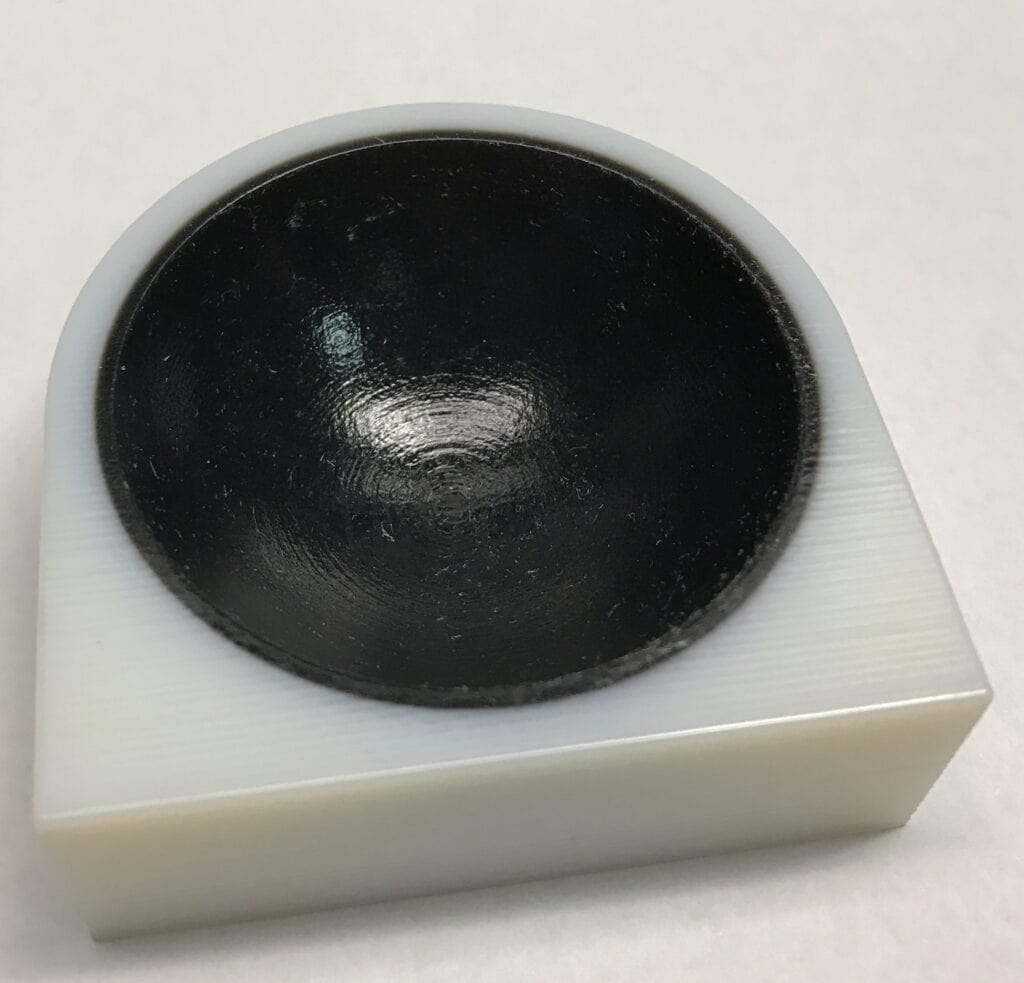
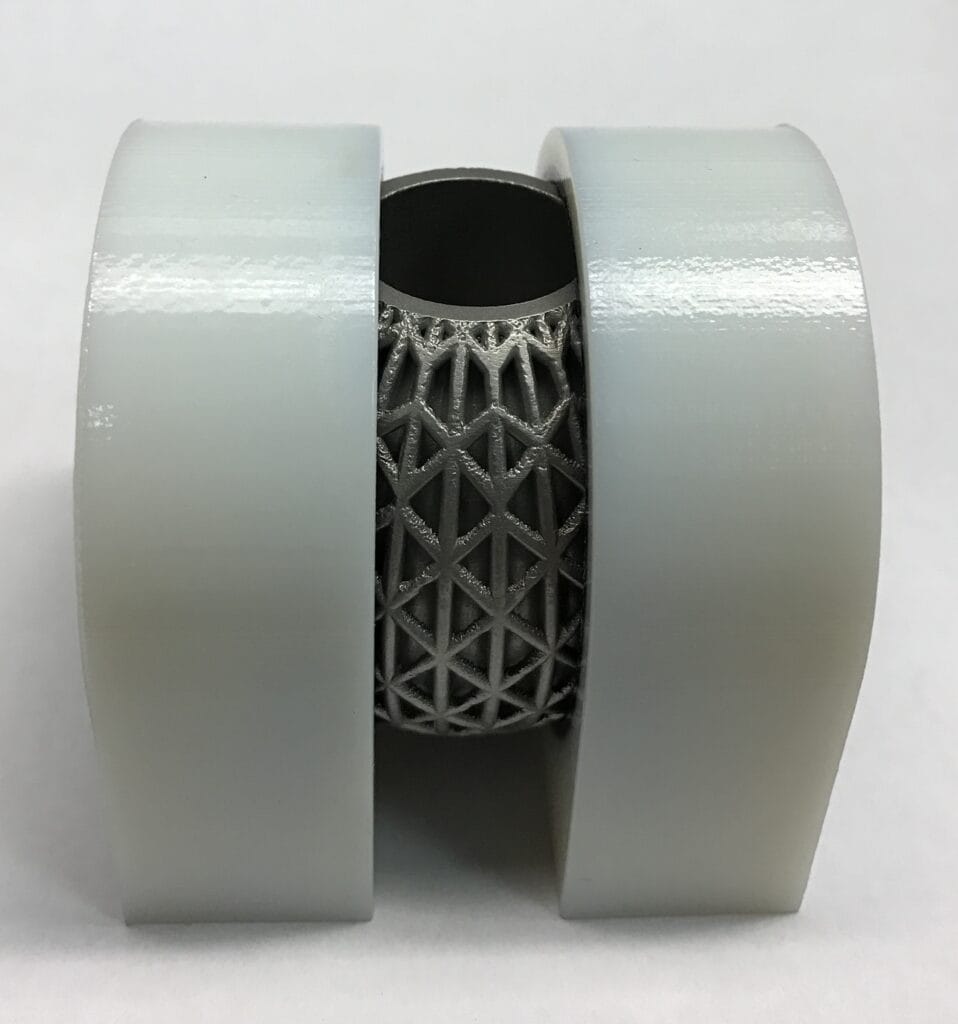
In order to do this, we need a good way to hold the knob in a vise. Lucky for us here at PADT, we have the ability to quickly design and print these parts. I came up with a design that we made using our PolyJet machine so we could have multiple material durometers in a single part. The part you need below utilizes softer material around the knob to cradle it and distribute the load of the vise onto the spherical lattice surface of the knob.
We quickly found out that the Remanium material was not able to be simply tapped. We attempted to bore the hole out in order to be able to press in an insert, and also found out the High Speed Steel (HSS) was not capable of machining the hole. Carbide however does the trick, and we bored the hole out in order to press in a brass insert, which was then tapped.
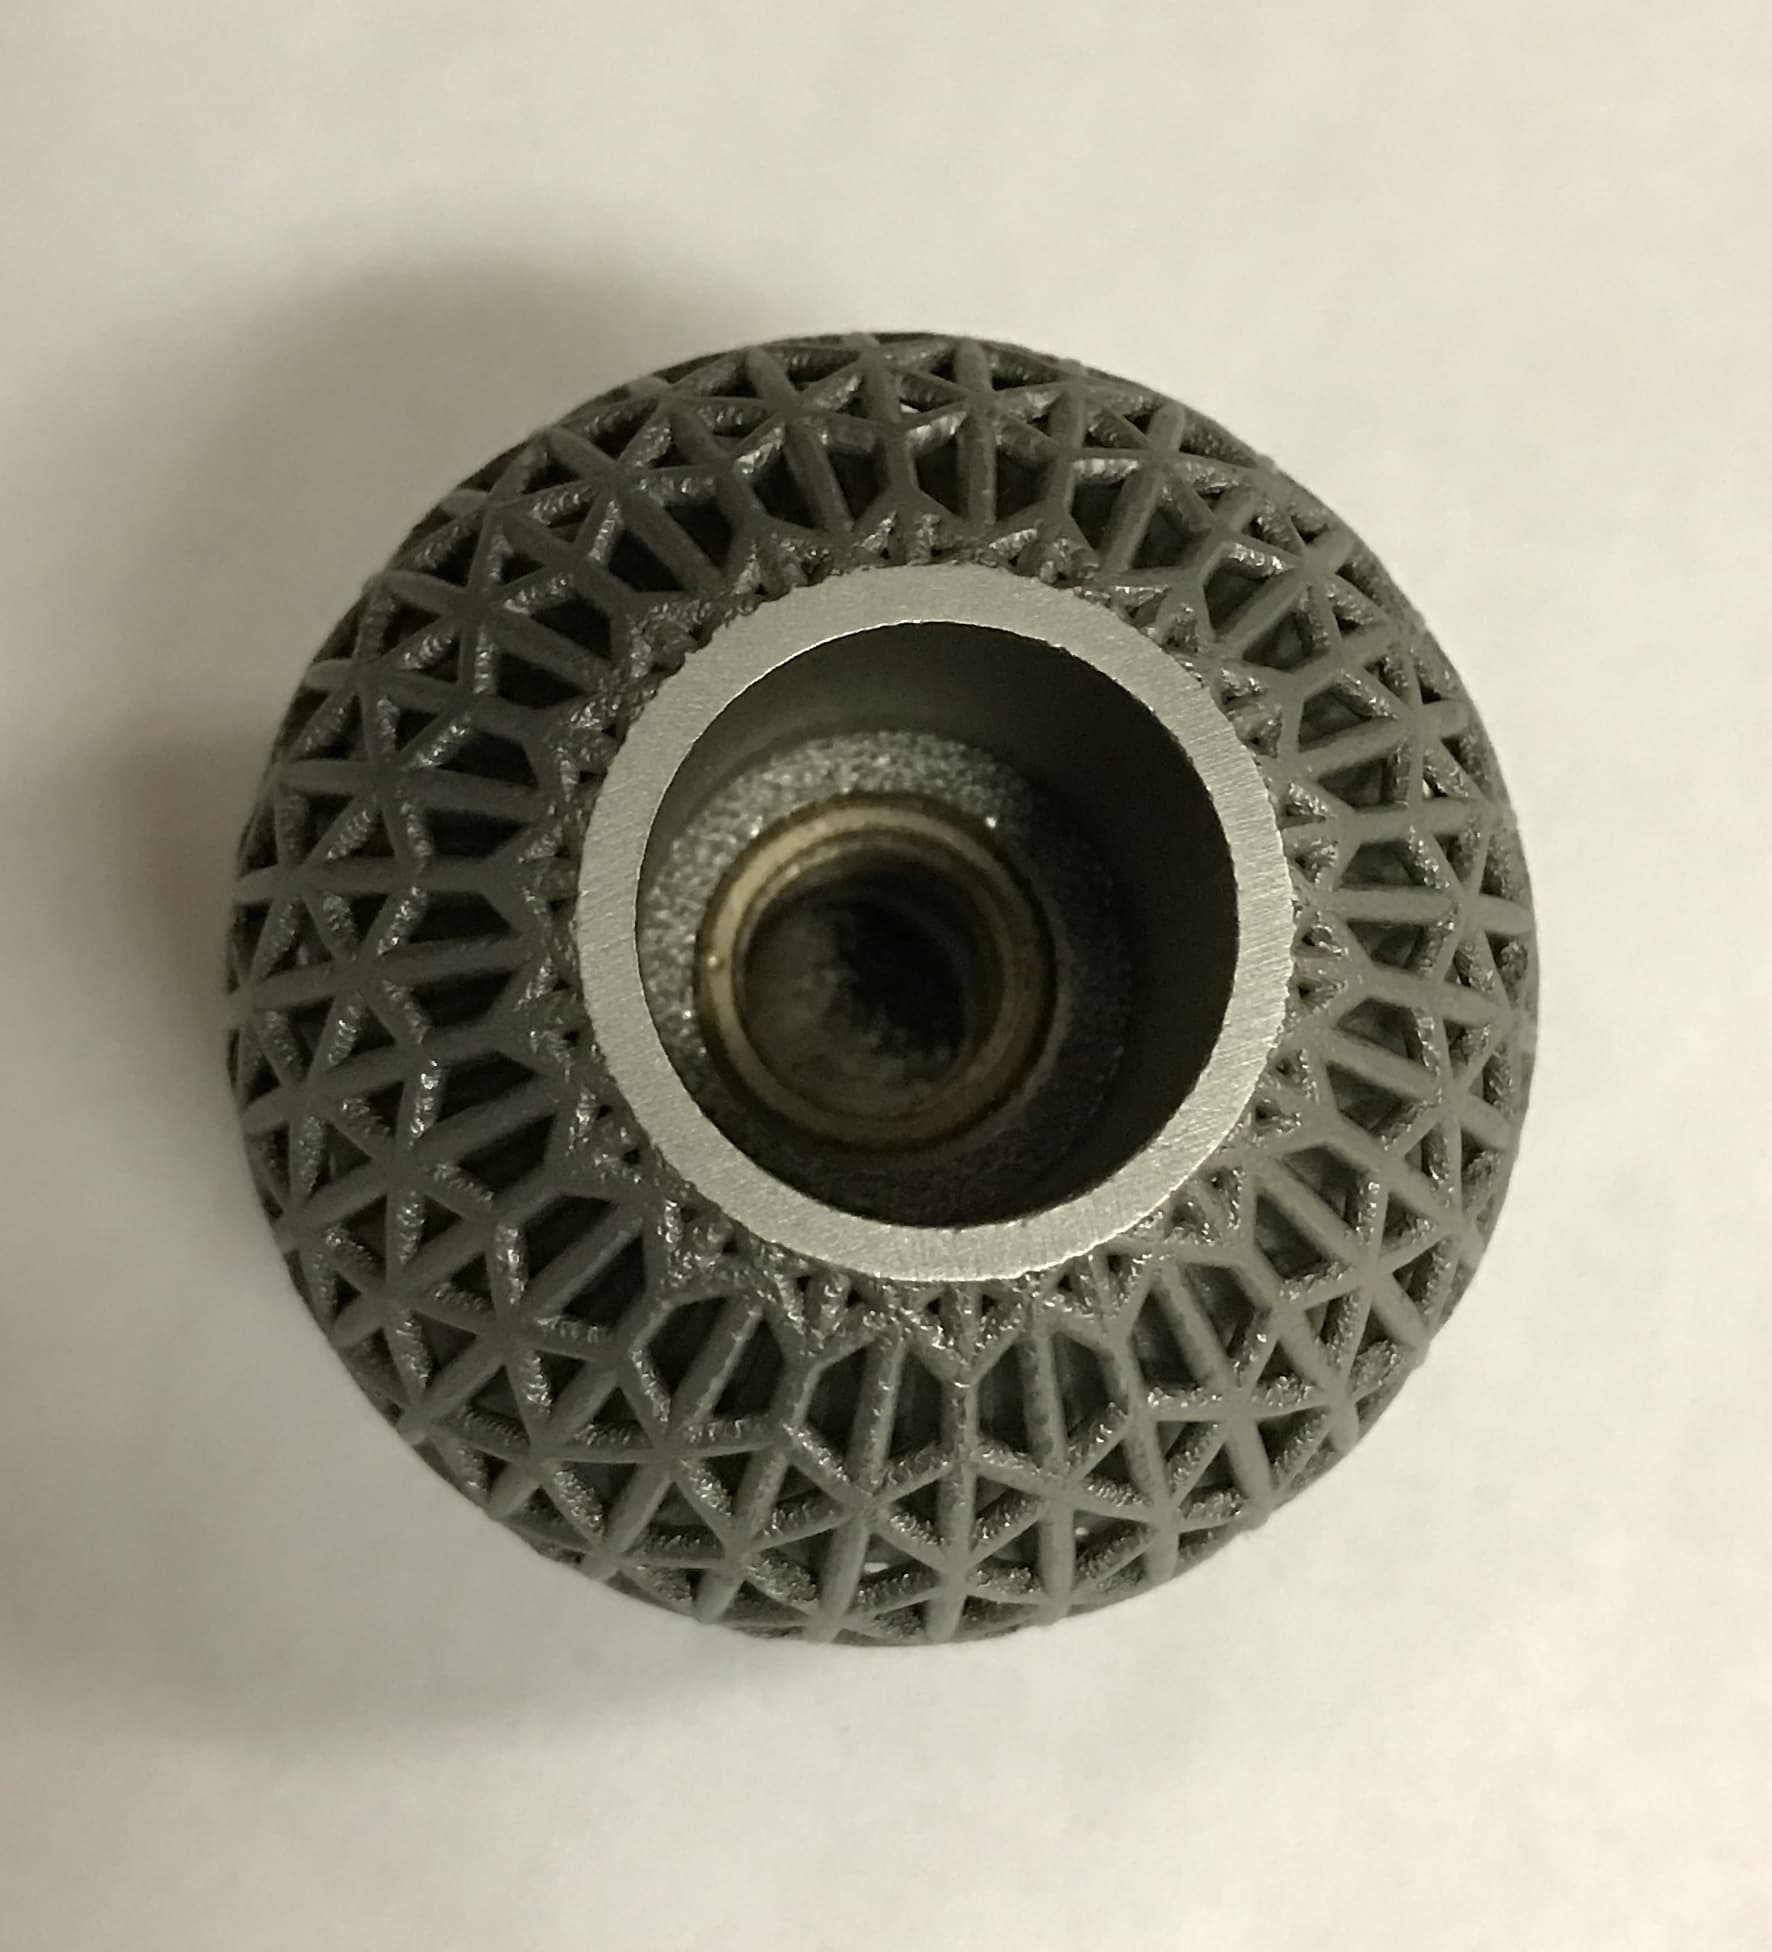
Finally, the shift knob is completed and installed!
Want to learn more, check out the article in “Additive Manufacturing Media.”


