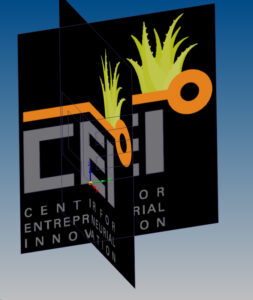
One of the fun things I get to do is design and print cool things to share what you can do with 3D Printing. This has extended to making awards for organizations that PADT supports like the Arizona Technology Council, The Arizona SciTech Festival, and AZBio. Recently our favorite incubator asked us to design a custom award for their first Impact and Innovation Celebration. The request was to incorporate the CEI logo:
Taking a 2D image and making it 3D can be a lot of fun, and in this case it showcased some cool things you can do with 3D CAD and then 3D Printing. There were some special steps needed to get this one done so I thought I’d share them.
The basic concept was to take the initials, CEI, and create a block that can serve as base. Then extrude the orange line-circle geometry as the key visual object. But the thing that sets the logo apart from most, is the use of the succulent plant, an agave I think, in the logo. So we definitely need a 3D agave on there. The last element needed was the actual award part, where the name and award being given could be listed.
To get started I needed to get the logo into the CAD system I use, SolidEdge. Usually I convert a PDF into DXF in Adobe Illustrator. I then imported this into sketch planes. But in this case I only had a bitmap (PNG) Fortunately you can paste that into a sketch plan as well, then just draw on top of it. So I made three planes: Front facing and one rotated 45 deg and another -45 about the Z axis. I then pasted the logo on to each of these centering the bottom center of the E on the global axis. This allows me to extrude and cut on each plan while keeping everything aligned
The base was made by extruding the initials from the +45/-56 planes and doing a Boolean intersect, This gives the letters from two views while creating a “3D-ness” That stands out. The circle-line was then extruded on the front plane to cover the block created by the intersection. It needed a “foundation” as well as a way to hold the letters together, so I just made a simple base.
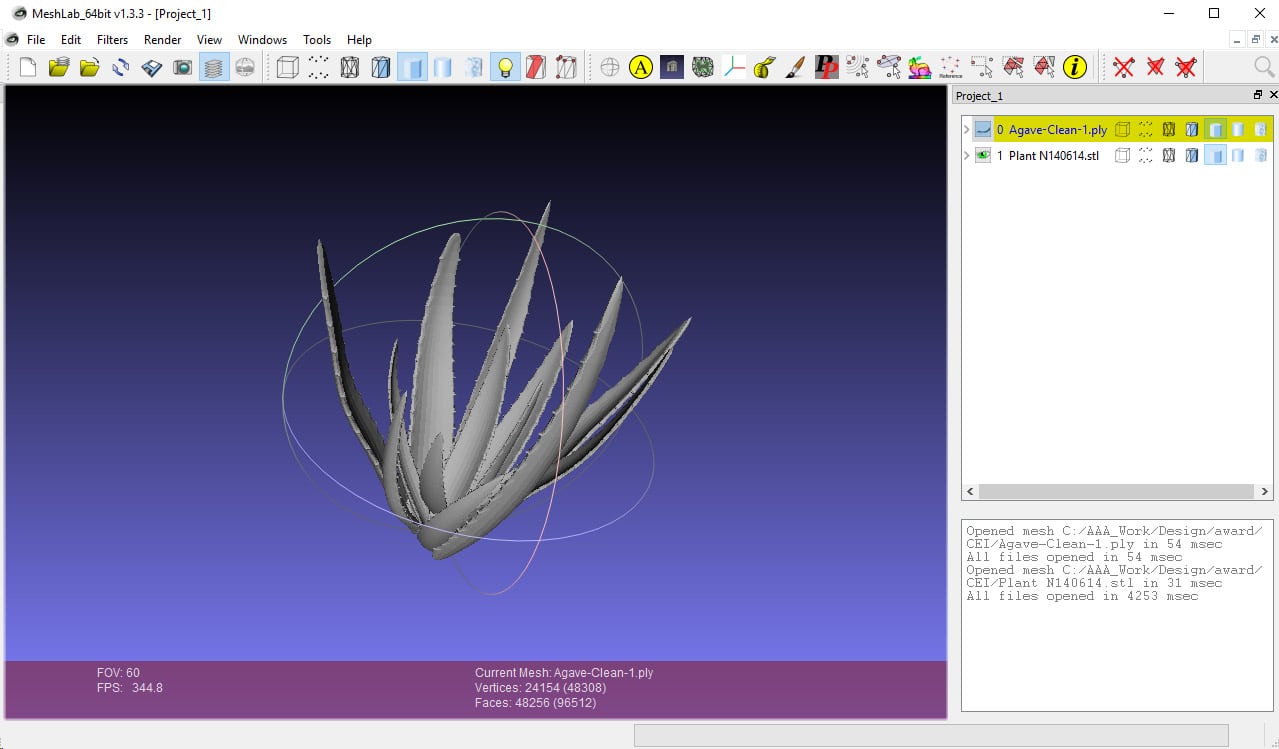
That left the agave. I thought about modeling it but nah… too much work. So I went online and found a bunch of plants that people have made for video games and rendering. Cool except the format was not STL, what we need for 3D Printing. So I downloaded some crazy rendering format. Then I used a free online tool (thank you google, sorry I didn’t write down the one I used) that converts between 3D graphics files. That took it to STL where I could read it into Meshlab, the open source tool for playing with this type of data. As usually with models made for graphics ,there was a lot of extra data and coordinate systems didn’t really translate right. No problem, Meshlab makes it easy to select and delete objects. I also scaled it from gigantic to the size I needed for the award. Next step was to save that as STL and import that into SolidEdge so I could view it and position it properly on the award.
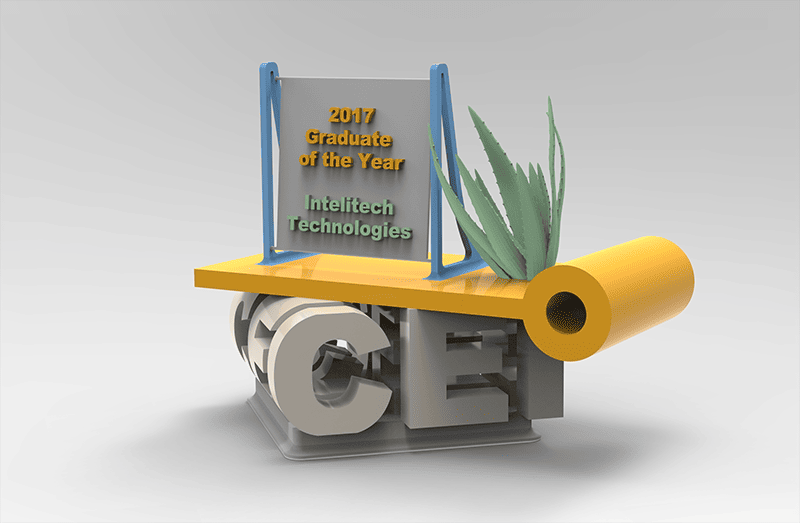
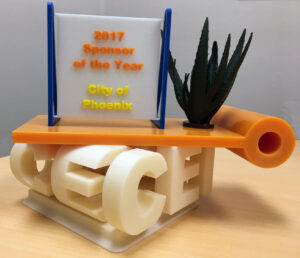
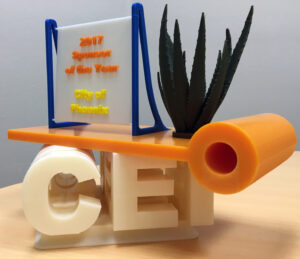
Last was the award part itself. I played with a couple of ideas and just came up with a simple plaque that we could 3D print words on. i made it white and the “holder” blue to stand out. Then printed the award name and winner in bright colors using the text extrusion feature in SolidEdge. When I need to get fancy, I’ll do the words and often a logo in Illustrator, export as DXF, then import as a sketch for extrusion. But in this case a nice simple Bold Arial font worked great.
So it was done, and I have to say looked pretty good. So I asked our experts on 3D Printing if they had any suggestions. Their one comment was “this is really cool, but its going to be expensive to print as one part.” Duh, I should have paid more attention in my own seminar on design for 3D Printing. I had tall thin objects and bulky objects and they were all combined. Lots of unneeded supports and flat surfaces at non-vertical or horizontal angles in the printer. Bad stuff.
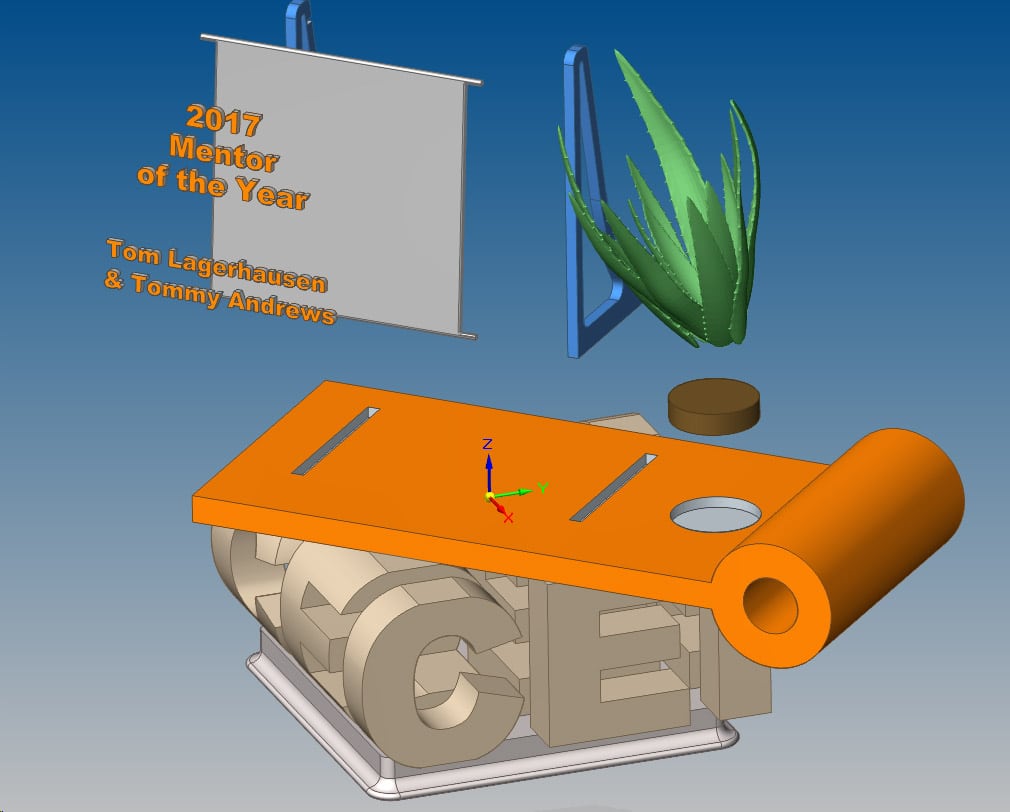
The solution was to design the parts so they could be printed separately and easily assembled. The resulted in an STL for the base, for the circle-line, the frame, the agave, and the award plaque with simple features that would allow us to quickly glue it all together. We also decided to print the base on FDM because it needed to be white and used the bulk of the material, and therefore cost. The rest was printed on a Stratasys Polyjet printer in color.
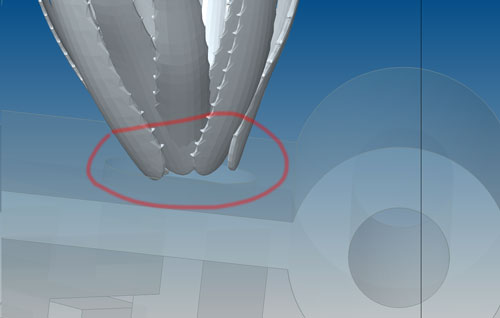
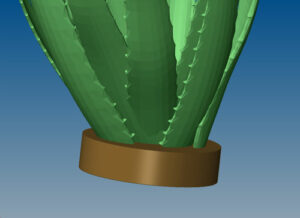
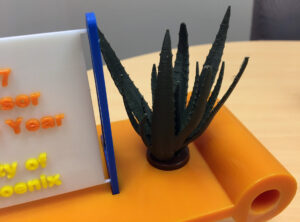
One more change worth noting was how to connect the crazy shapes of the agave needed some simple interface to the circle-line part. So I created a simple cylinder that intersected the base of the agave. In the printer we were able to combine the STL of the cylinder and the agave with two different colors. A cylindrical cut in the orange part made assembly easy.
The results came out pretty nice, and the winners seemed to really like them.
The great thing about 3D Printing is the restraints it removes on making things. You still have to plan it out to align with what the printers do well, but that doesn’t take a lot of effort and the results are great

