I was on the gondola up at Keystone for night-skiing a week ago, after a long day at Beaver Creek, because the last thing I am going to do at 3:00 pm is try to make it back to Denver, as everyone knows it’s hardly more than a parking lot at that point. As it gets later, there’s nothing like a solo gondola ride, however, a solo ride would stop this story right about now.
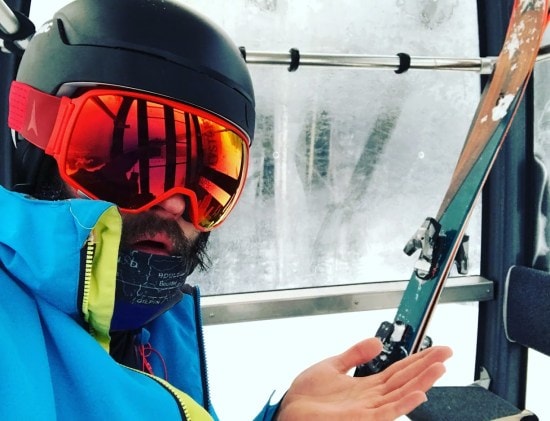
On the gondola, I overheard a conversation where one gentleman was discussing how he was unable to open the hatch of his vehicle when his skis are in his roof rack. That’s fair, I know older WRX wagons with the spoiler would not be able to open with skis on the roof no matter what, so I figured that was the case. It turns out, that was NOT the case. The reason his hatch would not open was that he orients the skis with the tails forward because it is ‘more aerodynamic’ that way… I was skeptical, but held my tongue, knowing that I had the tools at my disposal to investigate!
I decided to make a model that would allow me to simulate various conditions to get to the bottom of this. My initial hypothesis is that the addition of the ski rack and crossbars is what has the largest effect on aerodynamics, and orientation of the skis probably has a negligible effect after that. As a side note, I am solely concerned with aerodynamics in this case, and am not worrying about the amount of the ski’s base material that is exposed for a given orientation. I am of the mindset that tree trunks and hidden rocks on the mountain are more of a danger to your bases than small rocks on the highway anyway. If you are waiting to comment, “Just get a roof box!”, I understand as I own both a box and a rack at this point, and they both have their advantages, and I will not be exploring the aerodynamics of a box…
…yet…
I was able to start by finding some faceted geometry of a Subaru Forester online (I’m from Colorado, can you tell?) and was able to import that into ANSYS Spaceclaim. Once in Spaceclaim, I was able to edit the faceted geometry to get nice exterior panel surfaces, which I then combined to get a single clean faceted exterior for the car.
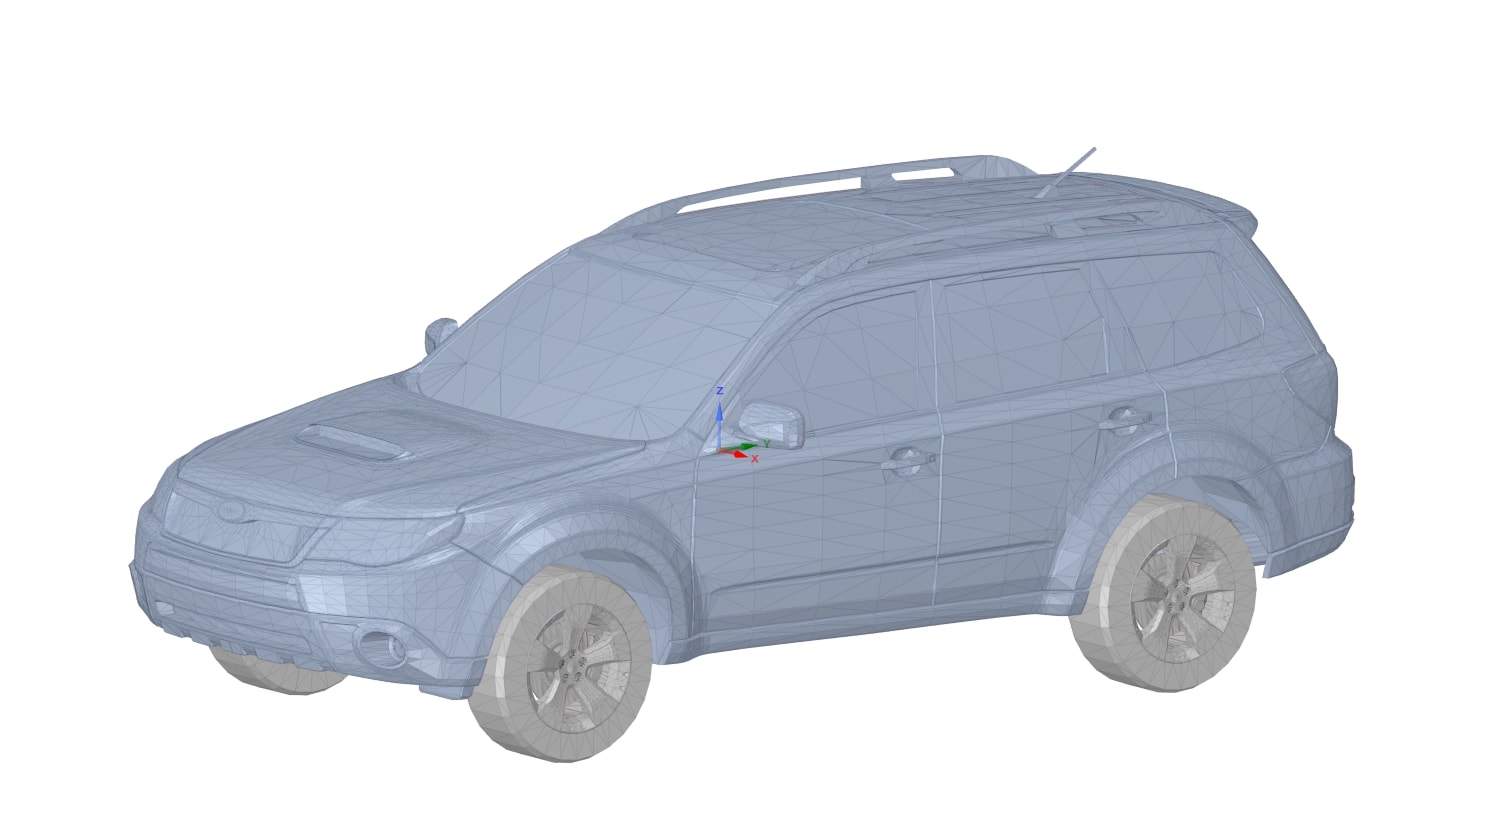
Faceted Forester Geometry (Equipped with factory side rails)
After that, I used Spaceclaim to generate the remainder of the rack and skis, including crossbars, a ski rack, and a pair of skis (Complete with the most detailed bindings you have ever seen!). I made a combined part of the crossbars, rack, and skis for each one of my orientations, as this allows me to report the forces on each combined part during the simulation.
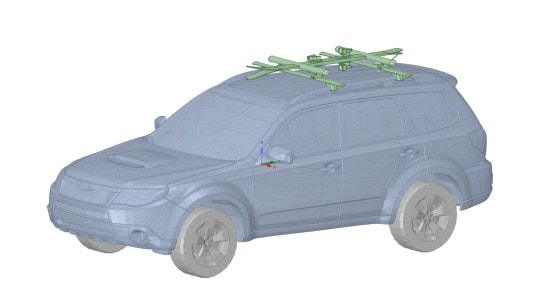
Added CAD geometry for the crossbars, ski rack, and a pair of skis
For the simulation, I used ANSYS Discovery Live, the newest tool from ANSYS that allows for instant and interactive design exploration. This tool lets me actively add my CAD geometry and shows results in realtime. I was able to start with just the car and then add and swap my ski/rack geometry with simple button clicks. With traditional simulation tools, I would have needed to create a mesh for each one of these cases, analyze them one at a time, and the post-process and compare results after the fact. After launching Discover Live, it’s as easy as selecting the type on analysis I want to run.
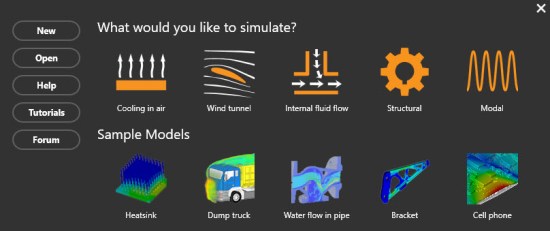
Once I have selected ‘Wind Tunnel’ for my solution, I can select my geometry, and then am prompted for the direction of flow, as well as selecting the ‘floor’ of my domain. Once that is done, results show up on the screen instantly. I only needed to modify the flow velocity to ~65 mph. I am most interested in the force on the faces of the combined crossbars, rack, and skis in each orientation, so I created Calculations for each one, which is done by simply selecting the part and using the popup toolbar to create the graph.
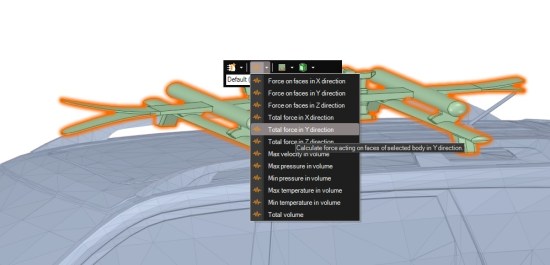
I was already off and running. I ran each one of the cases until the force plot had become steady.
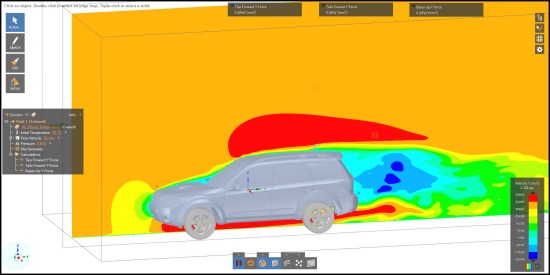
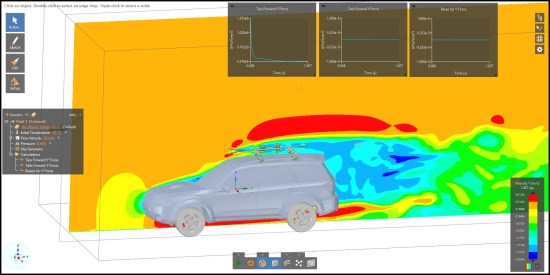
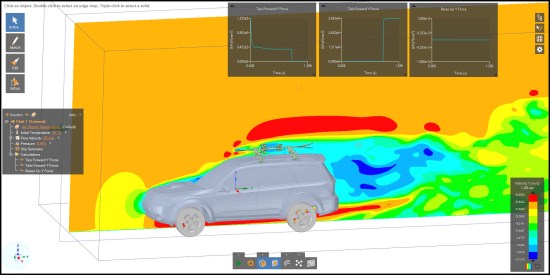
Skis Tails Forward Orientation
Seeing that the force results for the Tips Forward vs. Tails Forward cases were very similar, I decided I should also run a ‘Bases Up’ Orientation, even though I STRONGLY advise against this, as UV wrecks the base material of your skis/snowboard.
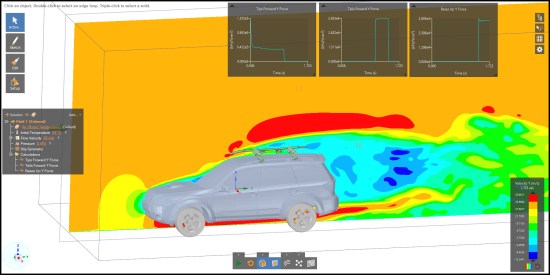
In addition to the contour plot shown in the images above, you can also use emitters to show streamlines and particle flow, which also give some pretty neat visualizations.
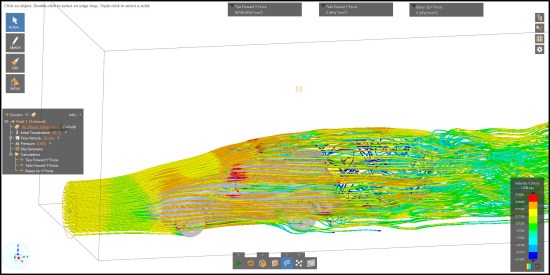
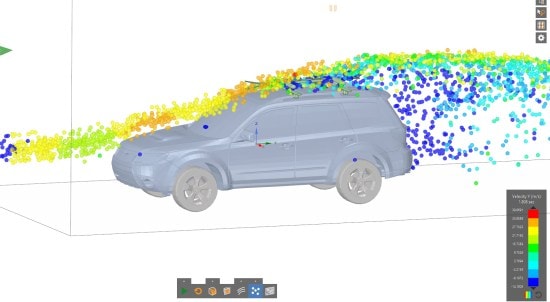
Particle Emitter shown on the Tips Forward orientation
The graph plots show values for the Total Y Force for Tips Foward, Tails Forward, and Bases Up orientations to be 37.7 N, 39.1 N, and 37.1 N, respectively. Using Discovery Live, I was able to quickly run all 3 of these simulations, showing that there is not a major difference in the forces on the ski rack between the three orientations. So, put the skis on the roof in the direction that makes life easiest for you, and keep those bad boys paired to protect your bases from the sun, because splitting them isn’t going to help with aerodynamics anyway!
Next steps would be taking a specific case and running in 2D, then 3D, in ANSYS Fluent.


