Scanning Surface Matters
When it comes to structured light scanning, certain material types, surfaces, and other factors limit the ability to scan parts accurately and completely. Two such items are clear parts, such as glass objects, and shiny or mirror-type surfaces. Visual 3D scanning machines like structured light scanning and laser scanning systems require either a pattern of light or a pattern of lasers to be projected onto a surface to capture the surface’s contour. If the pattern of blue light or lasers can’t project onto the part, or if it reflects too much light, the contours won’t be captured properly by the cameras.
Solution
To aid with scanning complex parts, materials, or surfaces, like clear or transparent parts, an anti-glare scanning spray can be used to create a powdery film on the part so that light can be projected onto the surface of the part. Likewise, when it comes to shiny surfaces, the same scanning spray dulls the surface of shiny objects so that it’s not as reflective, and the patterns of light can be clearly projected and measured by the equipment. Even though many scanners may be able to scan highly reflective surfaces successfully, a light dusting from a scanning spray can help to capture the surfaces more quickly and often more accurately.
Overview of Scanning Sprays
There are several specialized scanning sprays developed specifically for 3D scanning and can be used with most scanning technologies, such as structured light or laser scanning. The published thickness of different sprays can be as little as a few microns thick. When asked about the amount of spray needed, a general guideline is to use as little spray as needed to properly scan the part, minimizing any additional thickness caused by the powder.
Benefits
- Minimal thickness – Sprays provide uniform coverage and can apply even layers with minimal thickness
- Easily removable – most anti-glare sprays can be easily removed by wiping or brushing the surface, using an alcohol wipe, or with soap and water
Drawbacks
- Parts have to be handled carefully – once the part is sprayed, the powder is susceptible to smudging and removal if the part is touched by any other object
- Additional cleaning may be needed– most scanning sprays are easily removable but depending on how much spray is needed to coat the part thoroughly, the very fine powder particles can become embedded into small crevices and need additional removal
Example
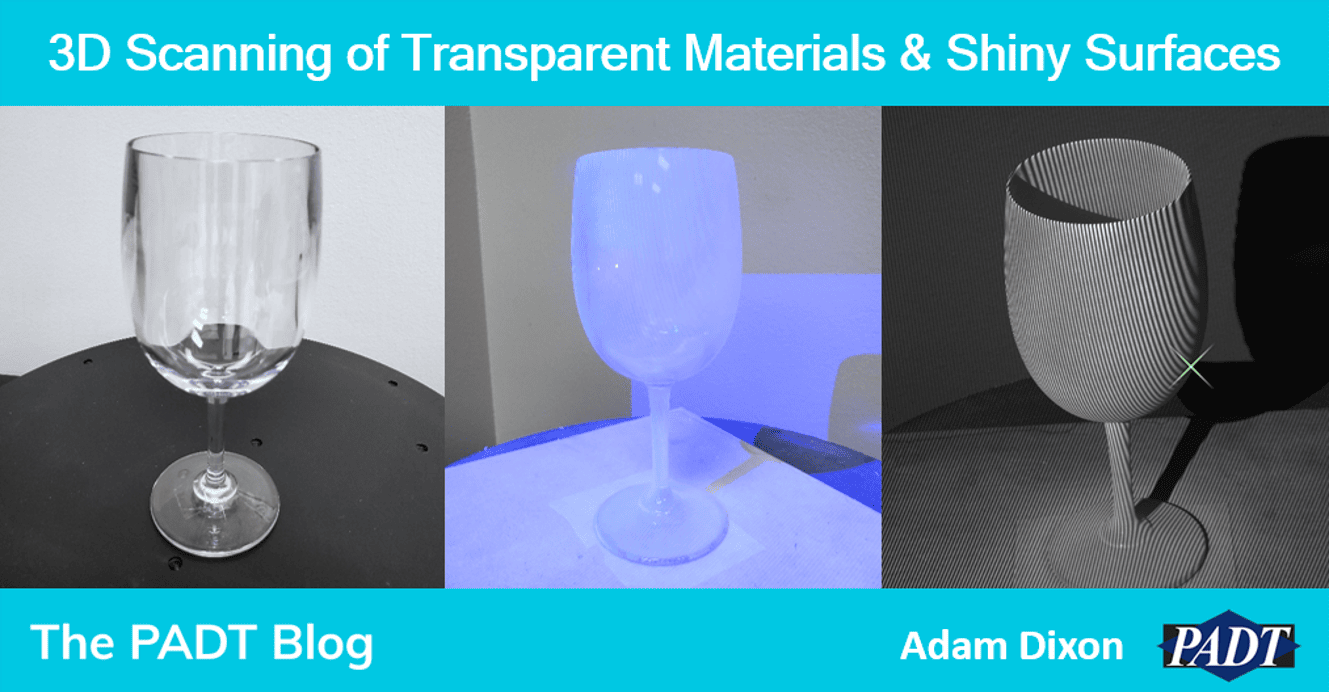
Below is an example of scanning a clear glass using scanning spray to aid in capturing the geometry.
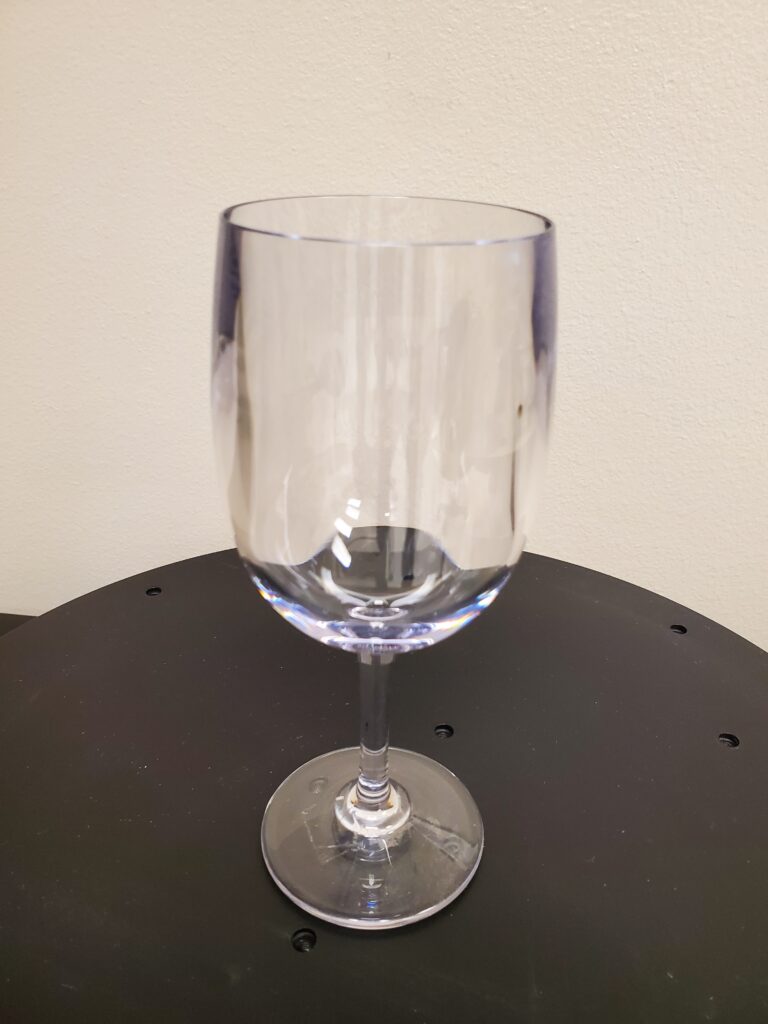
Figure 1 shows the clear glass used in this example.
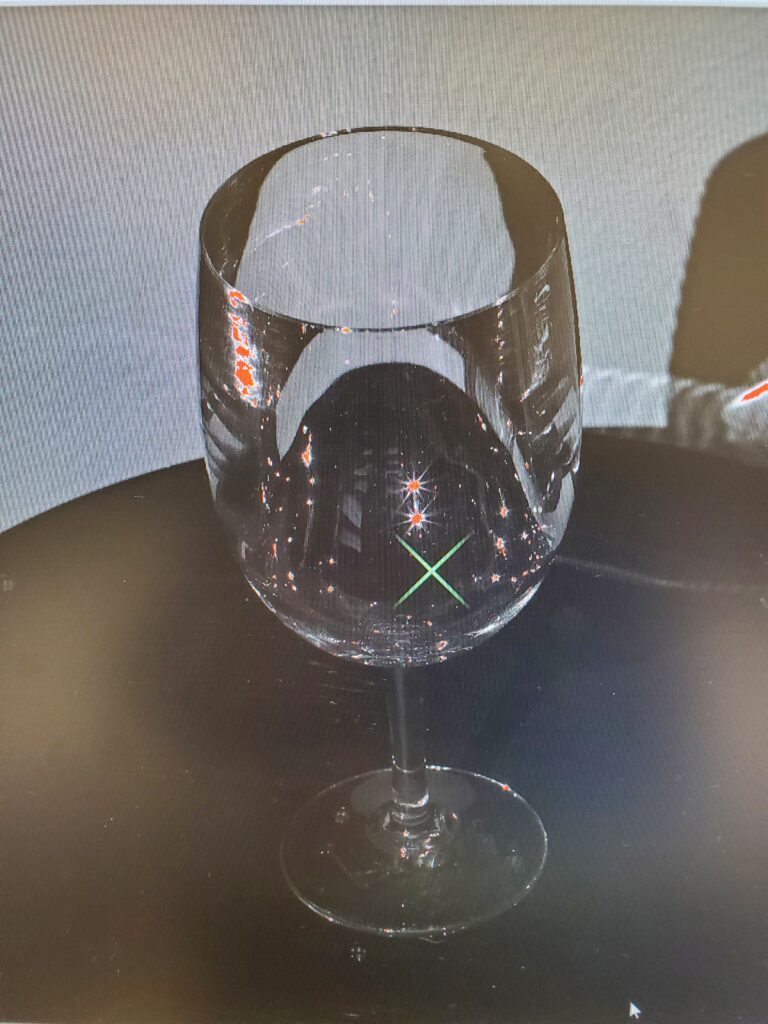
Figure 2 is what the scanning software sees when the glass is not sprayed with scanning spray. Without spray, the light pattern passes through the glass onto the wall behind and the scanner cannot scan the glass.
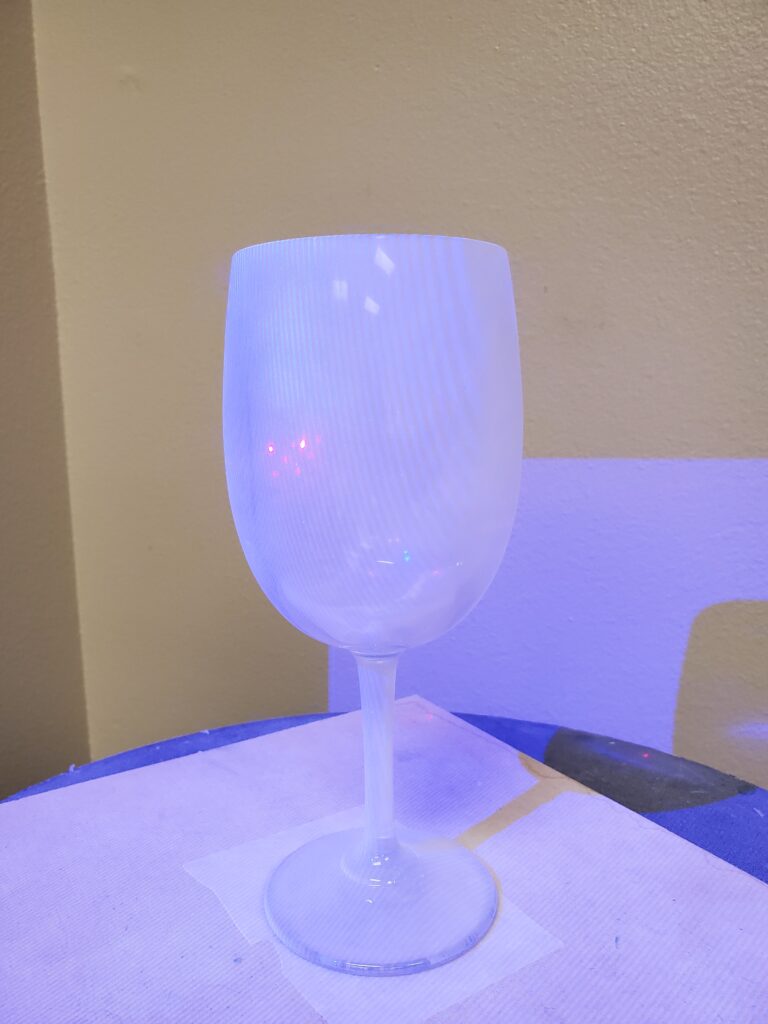
Figure 3 is a picture of the glass after it has been sprayed
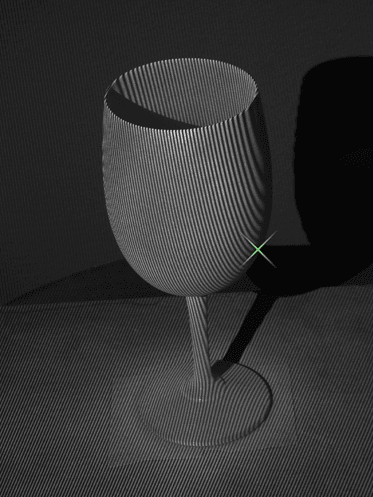
Figure 4 is the improved view of the glass through the scanning software. There is a clear improvement between these figures and shows how effective scanning spay is at allowing the clear glass to be scanned.
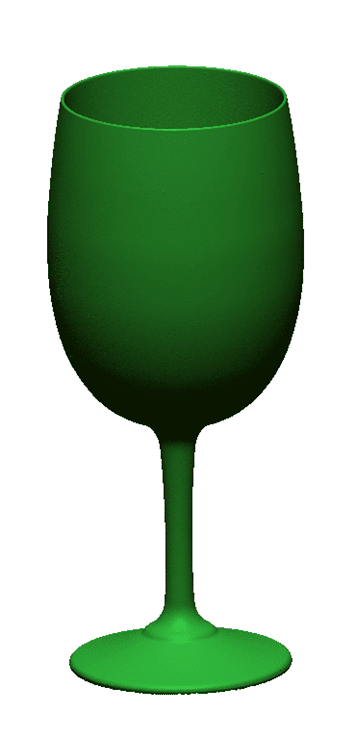
Lastly, Figure 5 shows the final scanned product in STL form. Thus, proving when used properly, scanning sprays help improve the scanning process and results.
If interested in PADT’s equipment and technologies, please visit our scanning web pages or other technology pages or contact us at scan@padtinc.com
Follow us on Instagram for more 3D Printing & 3D Scanning content

