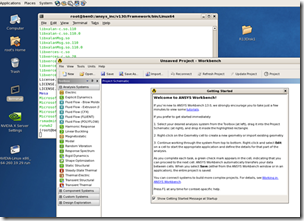
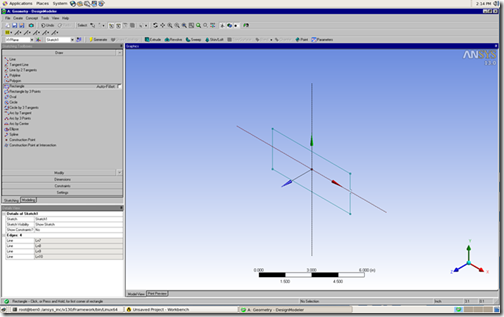
Getting ANSYS Workbench up and running on Linux at R13 is pretty simple. You just have to make sure that a few things are in place and some packages are loaded. Then it works great. Here is a quick HOW-TO on getting things going:
Pre-Install Tasks
- Install CentOS 5.3 or greater or RHEL5
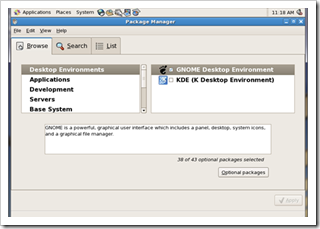
- Next, Gnome Desktop Environment is required for optimum use.
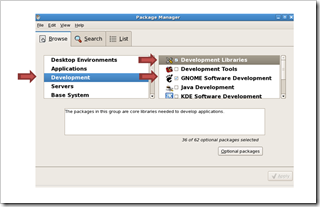
- Next, Using the Linux Package Manager. Select the Development main group and then select the additional libraries all needed. (see images below)
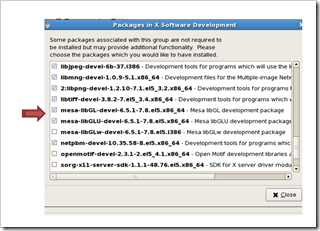
- Select Optional packages and then select the additional MESA libraries (see below).
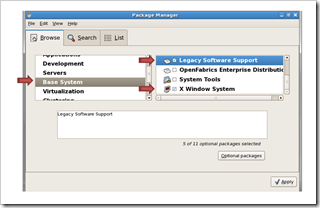
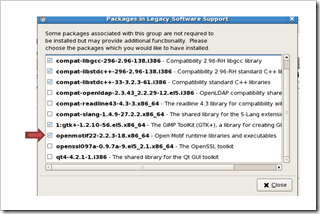
- Next, select the Base System main group, then X Window system, and Legacy Software Support. With Legacy software support still selected. Click Optional Packages and select the additional package – openmotif22 and click close.
- Restart the system
Post ANSYS Install Setup Tasks
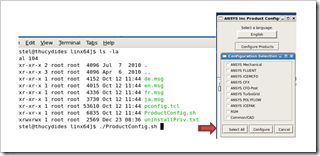
- Within your Terminal session. Type ProductConfig.sh
- Click Configure Products, then select the products to configure or reconfigure
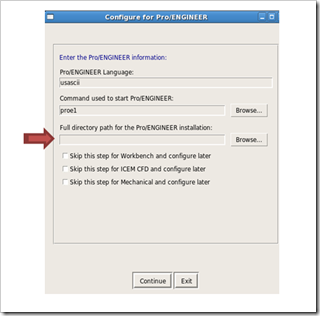
- Pro/E Configuration GUI
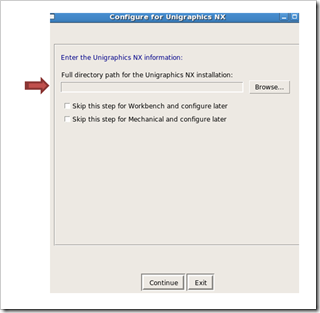
- Unigraphics NX install Configuration GUI
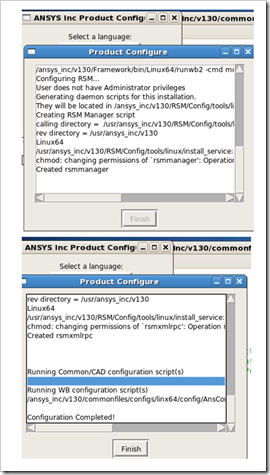
- Click Continue and the product configuration script will run.
- Click Finish
How to launching ANSYS Release 13.0 Workbench
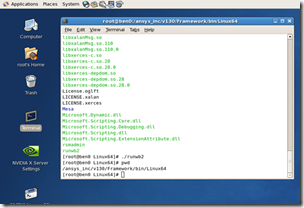
- Open a Linux terminal session:
- Change your path to include /ansys_inc/v130/Framework/bin/Linux64
- Next, launch the program by typing ./runwb2 and press enter
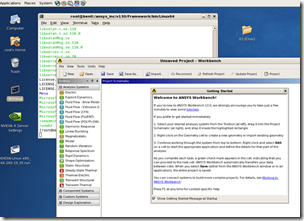
- Basic opening up of a Design Modeler project
Here it is: ANSYS 13 Workbench on CentOS 5.5 64-bit Linux
Done!

