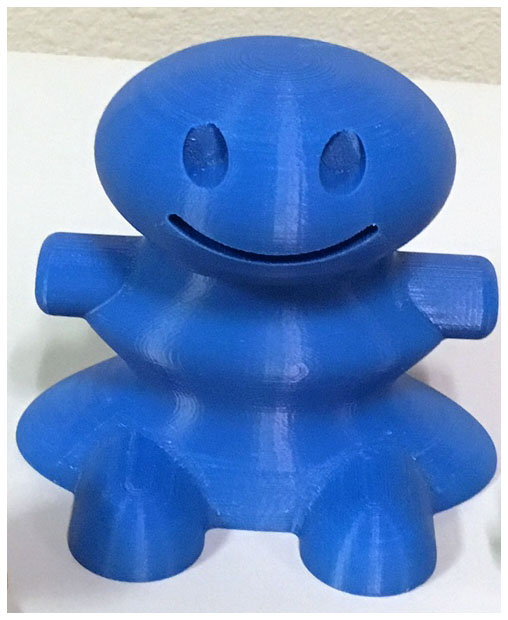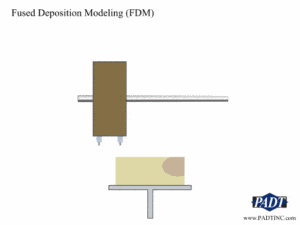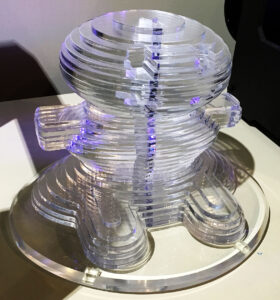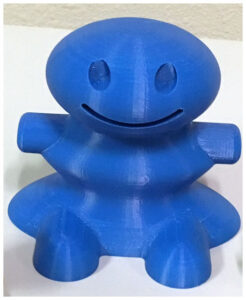
Let’s start by getting technical. 3D Printing is a common term for a class of manufacturing methods referred to as Additive Manufacturing. In 3D Printing you take a computer model and you print it out to get a real world three dimensional object. The way we do it is that we slice the computer model into thin layers, then build up material in the 3D printer one layer at a time. Here is a simple GIF showing the most common process:
This is Fused Deposition Modeling, or FDM. If a classroom has a 3D Printer it is most likely an FDM printer.
The idea behind these resources is to show the process:
- Start with a 3D Computer model
- Slice it
- Build it one layer at a time
The materials below can be used by parents or teachers to explain things to kids, K-8. Please use freely and share!
Presentation
This PowerPoint has slides that explain the 3D Printing process and the video is of the slides being presented, with our narration.
PowerPoint: Ovid-Presentation-3D_Printing
Making a Hands-On Ovid
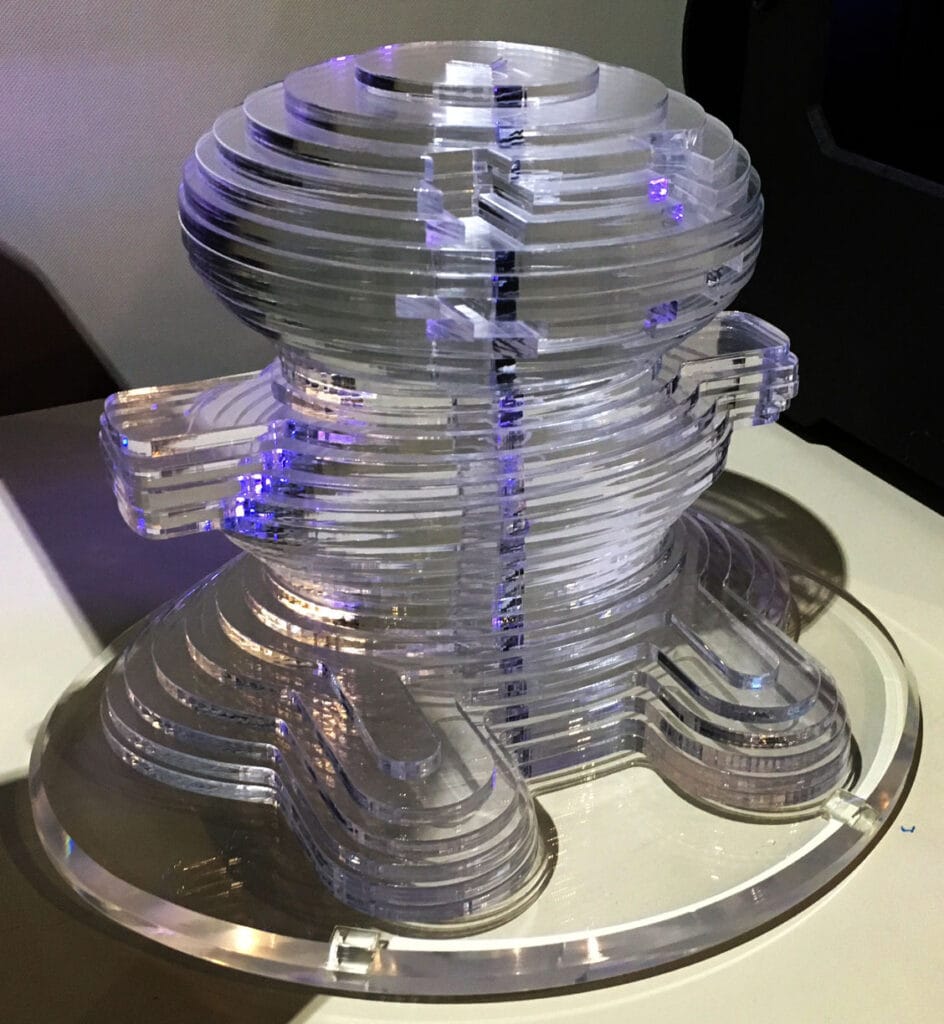
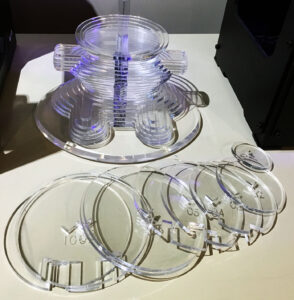
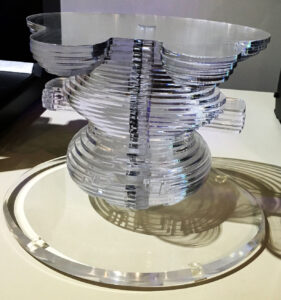
We did everything the same as a real 3D Printer, but instead of automatically stacking the layers, we cut each layer on a laser cutter and the students do the cutting.
Here is a video showing the laser cutting.
And this is a zip file containing the geometry we used to make Ovid in STEP, IGES, Parasolid, and SAT.
To put it all together we created a triangular rod with a base and height that are identical. Figure out the size you need once you have scaled the geometry for your version of Ovid. we glued the rod to a base.
Files for 3D Printing and Other Information
If you have access to a 3D Printer, you can print your own Ovid. Here is an STL and a Parasolid: Ovid-PADT-3D_Printing-1
We also have a video showing how the software for the printer slices the geometry and makes the tool path for each layer:
And to round things out, here is a few minutes of Ovid being made in one of our Stratasys FDM printers:

