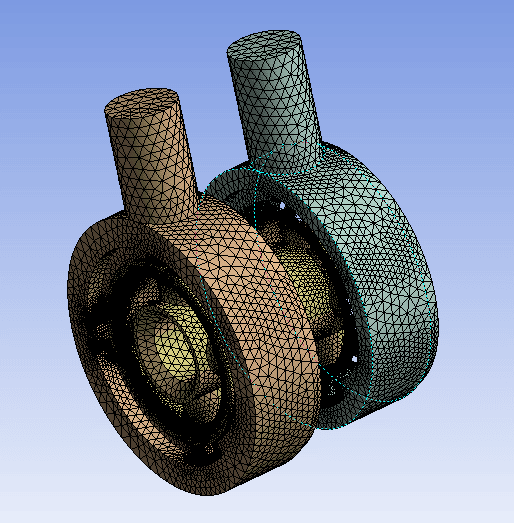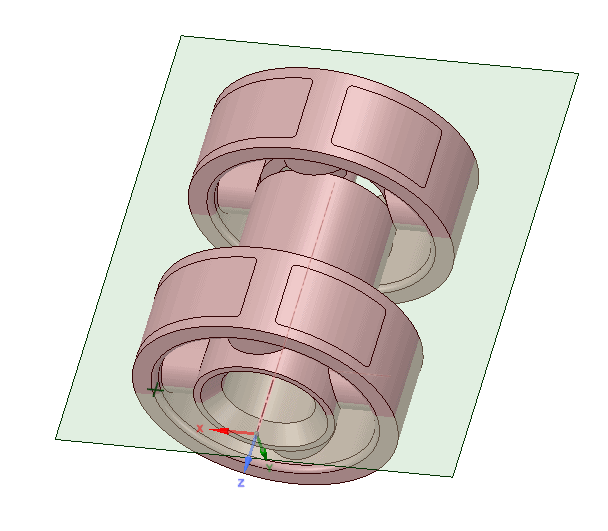
When the mesh is generated in ANSYS Mechanical it appears like the assembly has been successfully meshed.
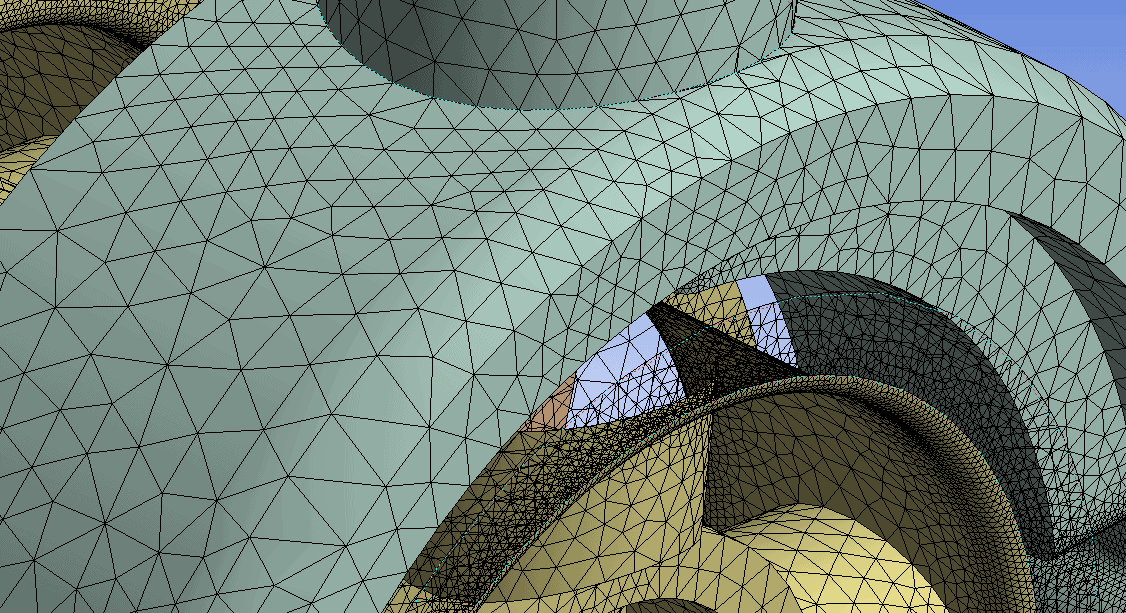
However, when you look at the mesh a little closer, the mesh can be missing from some of the surfaces and not displayed correctly on others.
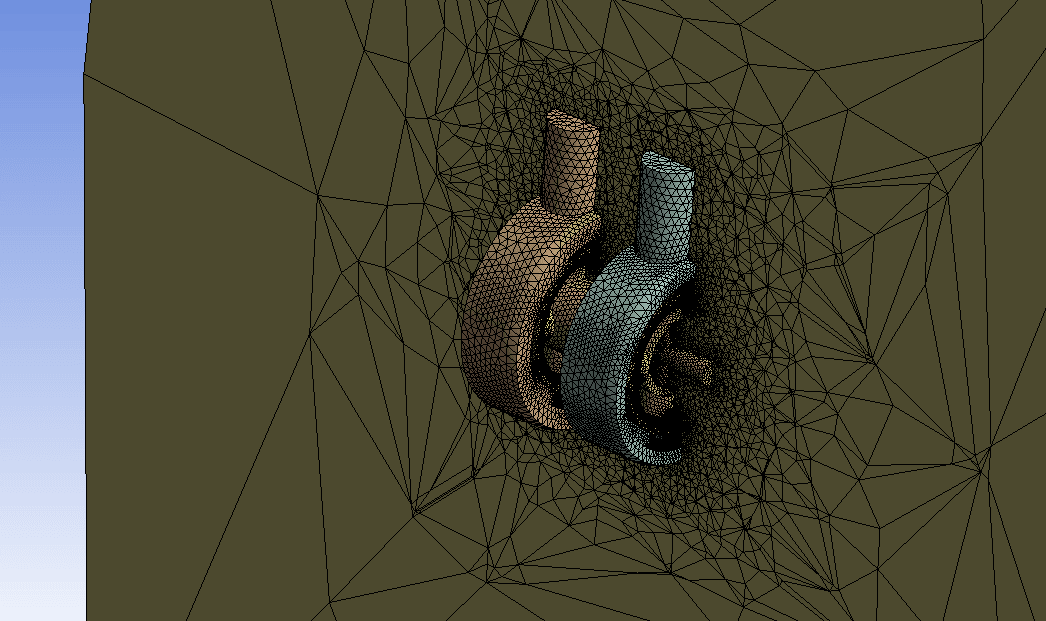
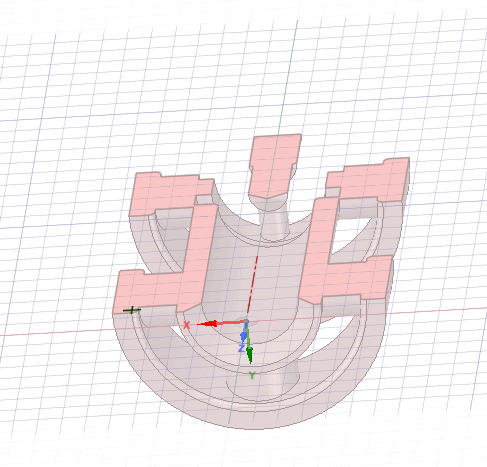
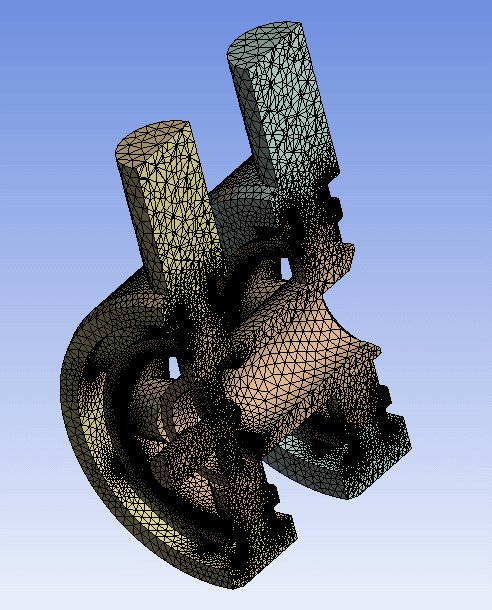
Additionally, if you create a cross-section through the mesh, the mesh on some of the parts will “leak” outside of the part boundaries and will look like the image below.
Based on the mesh color, the mesh of the part in the center of the assembly has grown outside of the surfaces of the part.
To repair the part you need to go back to SpaceClaim and rebuild it. First you need to hide the rest of the parts.
Next, create a sketch plane that passes through the problem part.
In the sketch mode create a rectangle that surrounds the part. When you return to 3D mode in SpaceClaim, that rectangle will become a surface that passes through the part.
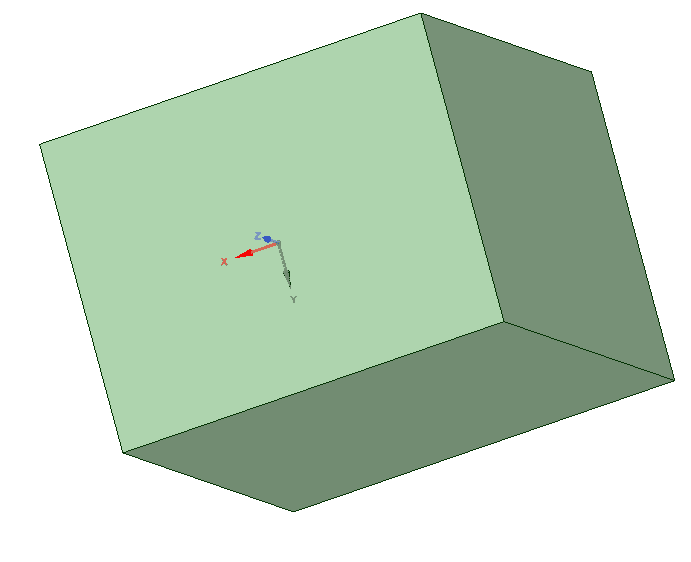
Now use the Pull tool in SpaceClaim to turn that surface into a part that completely surrounds the part to be repaired, making sure to turn on the “No Merge” option for the pull before you begin.
After you have pulled the surface into a solid, it should like the image below where the original part is completely buried inside the new part.
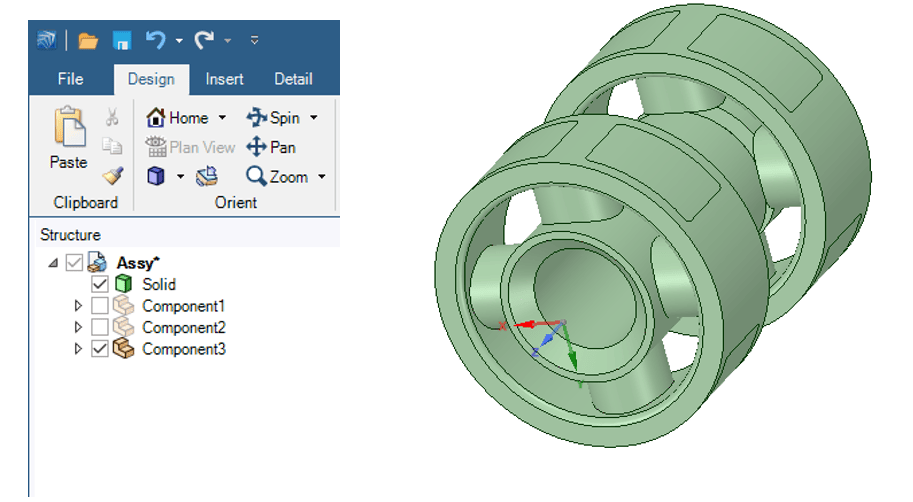
Now you will use the Combine tool to divide the box with the original part. Select Combine from the Tool Bar, then select the box that you created in the previous step. The cutter will be activated and you will move the cursor around until the original part is highlighted inside the box. Select it with the left mouse button. The Combine tool will then give you the option to select the part of the box that you want to remove. Select the part that surrounds the original part. After it is finished, close the combine tool and the Structure Tree and 3D window will now look like the following:
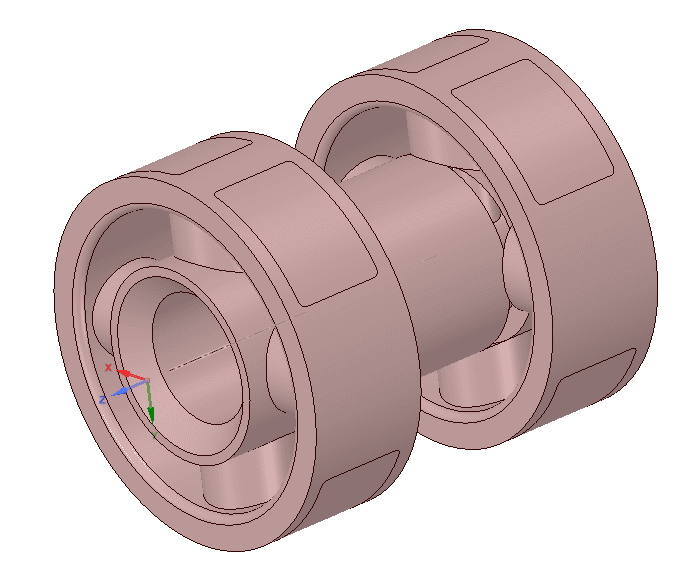
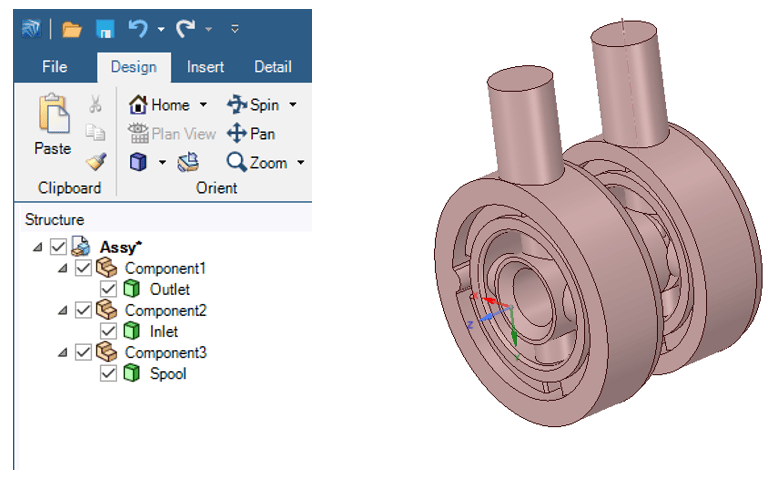
Now move the new solid that was created with the Combine tool into the location of the original part and turn off the original one and re-activate the other parts of the assembly. The assembly and Structure Tree should now look like the pictures below.
Now save the project, re-open the meshing tool, and re-generate the mesh. The mesh should now be correct and not “leaking” beyond the part boundaries.

