Have you ever wondered about choosing a plain versus funky infill-style for filament 3D-printing? Amongst the ten standard types (no, the cat infill design is not one of them), some give you high strength, some greatly decrease material use or printing time, and others are purposely tailored with an end-use in mind.
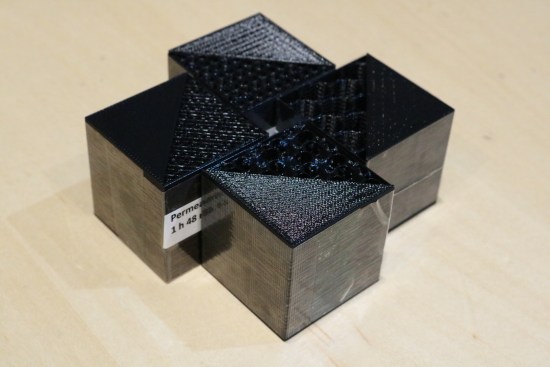
Highly detailed Insight slicing software from Stratasys gives you the widest range of possibilities; the basic versions are also accessible from GrabCAD Print, the direct-CAD-import, cloud-connected slicing software that offers an easy approach for all levels of 3D print users.
A part that is mimicking or replacing a metal design would do best when built with Solid infill to give it weight and heft, while a visual-concept model printed as five different test-versions may work fine with a Sparse infill, saving time and material. Here at PADT we printed a number of sample cubes with open ends to demonstrate a variety of the choices in action. Check out these hints for evaluating each one, and see the chart at the end comparing build-time, weight and consumed material.
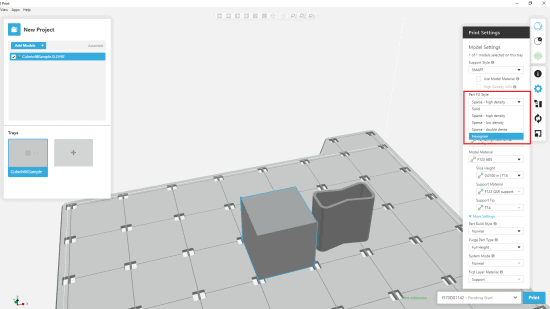
Basic Infill Patterns
Solid (also called Alternating Raster) This is the default pattern, where each layer has straight fill-lines touching each other, and the layer direction alternates by 90 degrees. This infill uses the most material but offers the highest density; use it when structural integrity and super-low porosity are most important.
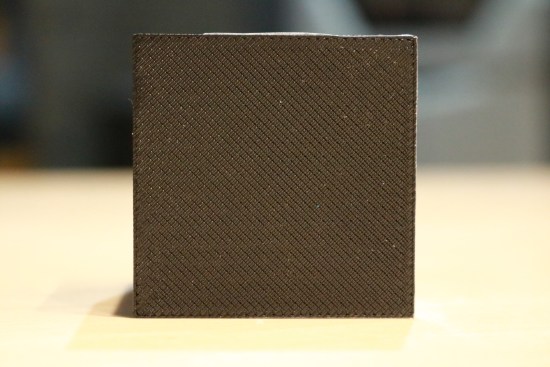
Solid (Alternating Raster)
Sparse Raster lines for Sparse infill also run in one direction per layer, alternating by layer, but are widely spaced (the default spacing is 0.080 inches/2 mm). In Insight, or using the Advanced FDM settings in GrabCAD, you can change the width of both the lines and the spaces.
Sparse Double Dense As you can imagine, Sparse Double Dense achieves twice the density of regular Sparse: it deposits in two directions per layer, creating an open grid-pattern that stacks up throughout the part.
Sparse High Density Just to give you one more quick-click option, this pattern effectively sits between Sparse Double Dense and Solid. It lays rasters in a single direction per layer, but not as closely spaced as for Solid.
Hexagram The effect of this pattern looks similar to a honeycomb but it’s formed differently. Each layer gets three sets of raster lines crossing at different angles, forming perfectly aligned columns of hexagons and triangles. Hexagram is time-efficient to build, lightweight and strong in all directions.
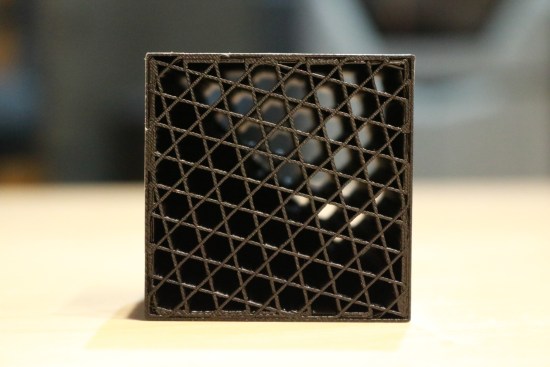
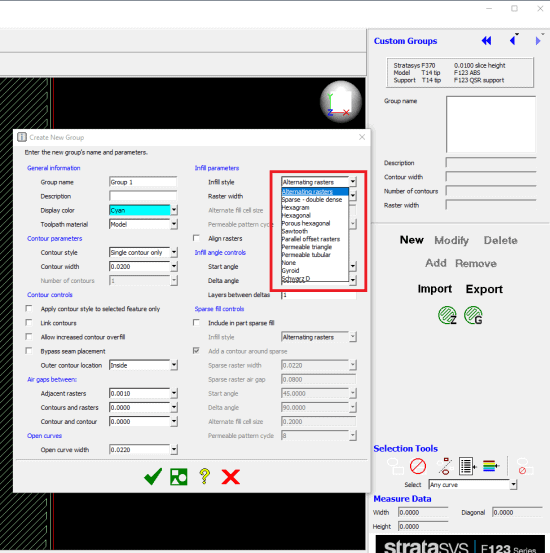
Advanced Infill Patterns (via Custom Groups in Insight)
Hexagon By laying down rows of zig-zag lines that alternately bond to each other and bend away, Hexagon produces a classic honeycomb structure (every two rows creates one row of honeycomb). The pattern repeats layer by layer so all vertical channels line up perfectly. The amount of build material used is just about one-third that of Solid but strength is quite good.
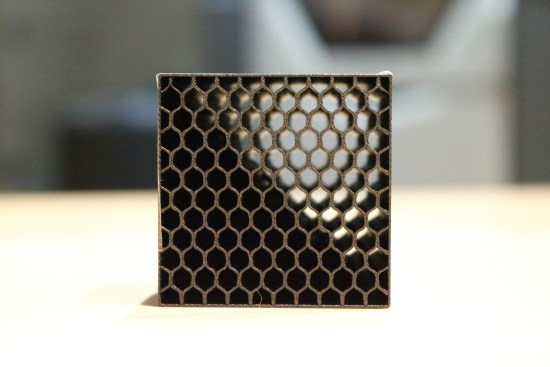
Permeable Triangle A layer-by-layer shifting pattern of triangles and straight lines creates a strong infill that builds as quickly as Sparse, but is extremely permeable. It is used for printing sacrificial tooling material (i.e., Stratsys ST130) that will be wrapped with composite material and later dissolved away.
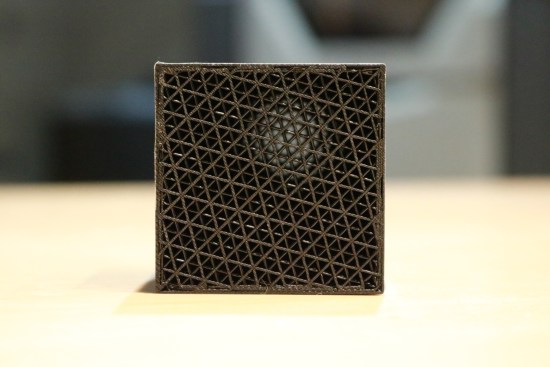
Permeable Tubular This infill is formed by a 16-layer repeating pattern deposited first as eight varying wavy layers aligned to the X axis and then the same eight layers aligned to the Y axis. The resulting structure is a series of vertical cylinders enhanced with strong cross-bars, creating air-flow channels highly suited to tooling used on vacuum work-holding tables.
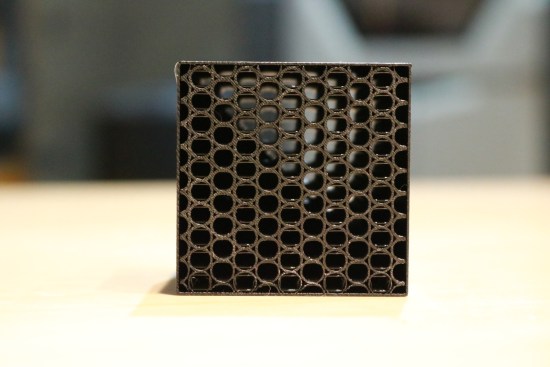
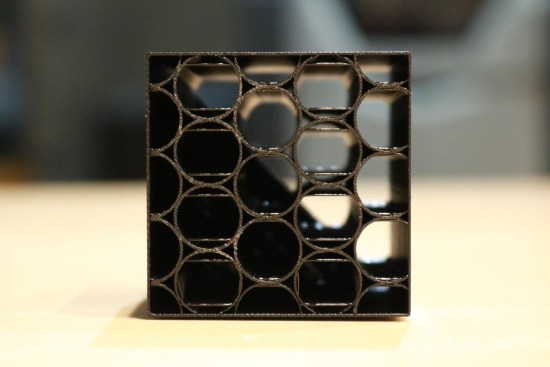
Gyroid (so cool we printed it twice) The Gyroid pattern belongs to a class of mathematically minimal surfaces, providing infill strength similar to that of a hexagon, but using less material. Since different raster spacings have quite an effect, we printed it first with the default spacing of 0.2 inches and then widened that to 0.5 inches. Print time and material use dropped dramatically.
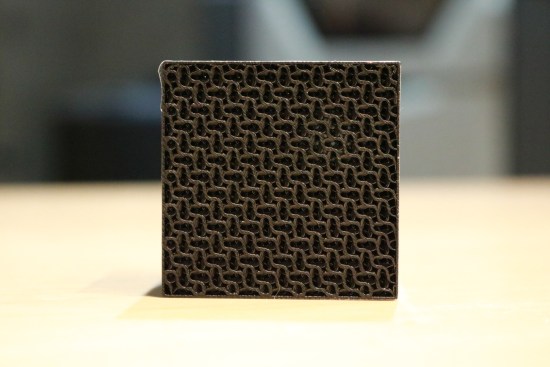
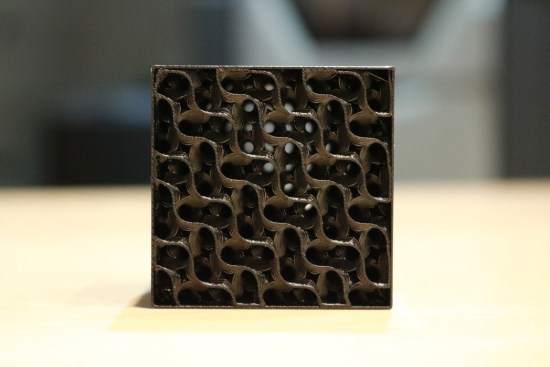
Schwarz D (Diamond) This alternate style of minimal surface builds in sets of seven different layers along the X-axis, ranging from straight lines to near-sawtooth waves, then flipping to repeat the same seven layers along the Y-axis. The Schwarz D infill balances strength, density and porosity. As with the Gyroid, differences in raster spacing have a big influence on the material use and build-time.
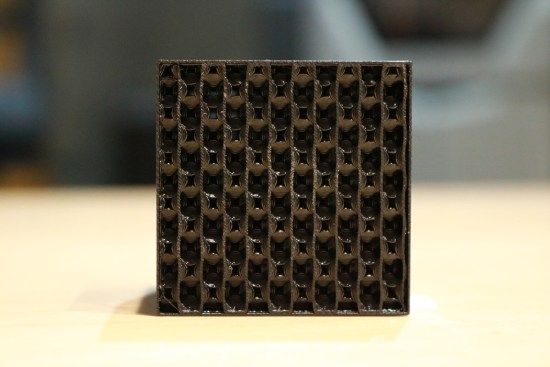
Digging Deeper Into Infill Options
| Infill Cell Type/0.2 spacing | Build Time | Weight | Material Used |
| Alternating Raster (Solid) | 1 h 57 min | 123.77 g | 6.29 cu in. |
| Sparse Double Dense | 1 hr 37 min | 44.09 g | 4.52 cu in. |
| Hexagon (Honeycomb) | 1 h 49 min | 37.79 g | 2.56 cu in. |
| Hexagram (3 crossed rasters) | 1 h 11 min. | 47.61 g | 3.03 cu in. |
| Permeable Triangle | 1 h 11 min. | 47.67 g | 3.04 cu in. |
| Permeable Tubular – small | 2 h 5 min. | 43.95 g | 2.68 cu in. |
| Gyroid – small | 1 h 48 min. | 38.68 g | 2.39 cu in. |
| Schwarz Diamond (D) – small | 1 h 35 min. | 47.8 g | 3.04 cu in. |
| Infill Cell Type/0.5 spacing | Build Time | Weight | Material Used |
| Permeable Tubular – Large | 1 h 11 min. | 21.84 g | 1.33 cu in. |
| Gyroid – Large | 57 min. | 20.59 g | 1.29 cu in. |
| Schwarz Diamond (D) – Large | 58 min. | 23.74 g | 1.51 cu in. |
Hopefully this information helps you perfect your design for optimal strength or minimal material-use or fastest printing. If you’re still not sure which way to go, contact our PADT Manufacturing group: get your questions answered, have some sample parts printed and discover what infill works best for the job at hand.
PADT Inc. is a globally recognized provider of Numerical Simulation, Product Development and 3D Printing products and services. For more information on Insight, GrabCAD and Stratasys products, contact us at info@padtinc.com.


