In this post I will go over what is usually the first step in any Flownex network I build. Adding a background image not only helps me lay out my network but also helps colleagues and clients understand networks at a very quick glance. In this example I am using Flownex version 8.12.7.4334
Choosing an Appropriate Image
The first thing we want to do is to make sure that the image size is such that it’s reasonable in size both resolution-wise (so it doesn’t appear pixelated), and right-size so that components don’t appear too small when placed on top. I recommend something in the multi-thousand of pixels both in width an height. 3000 pixels at a minimum. I usually shoot for around 10,000 wide by 5,000 high if the background image will be landscape. For very complex, large networks, it may make sense to go much larger.
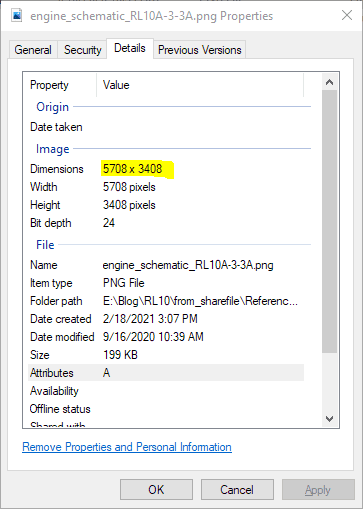
Once we’ve found an appropriate image we will want to make a note of the exact size. This can be found by right-clicking on the image file, selecting properties, and navigating to the details tab.

Resizing Flownex Canvas
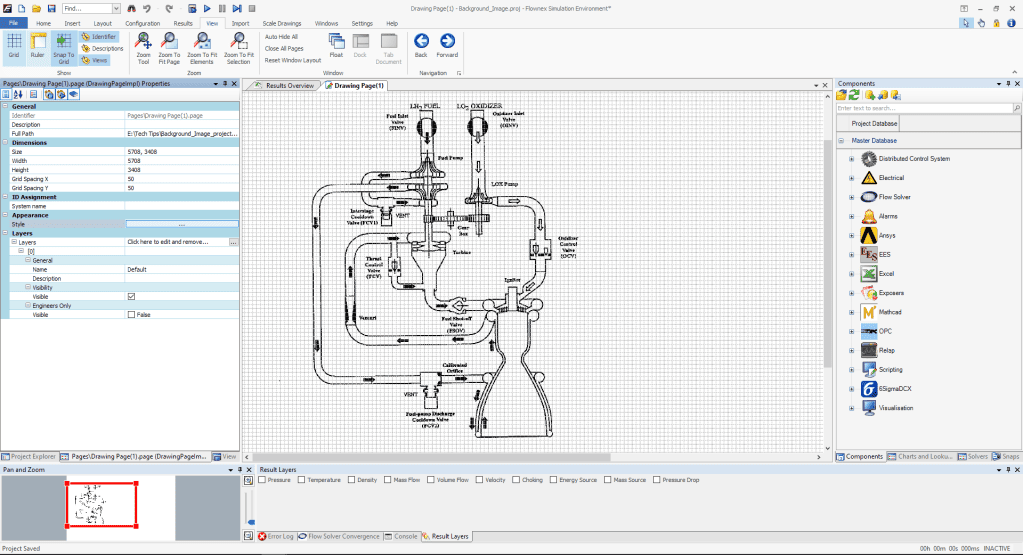
The canvas in Flownex can be resized to match this resolution by right-clicking on the canvas, selecting edit page, and populating the correct inputs:

Applying Background Image
The background image can be applied by clicking the radio button next to Style in the Appearance subcategory. Here we will change the Fill Style type to Image, then click the Select Image button:

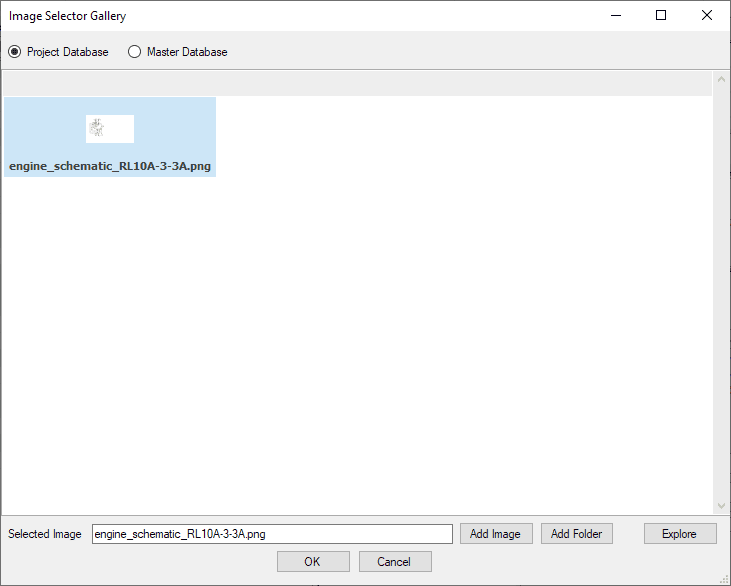
The images saved locally to this project will appear here. To add an image we simply click Add Image, navigate to the image of our choice, and click open. Now that it is available as an option we select the image in the Image Selector Gallery and click OK.

We can press OK in the Styles Editor to confirm our changes and we should now see our added image as the new background!

Bonus Tips!
- Adjusting the Fill Style opacity can fade out the background image so that it doesn’t overwhelm the Flownex components placed on top.
- Turning off the grid under the View ribbon can make the canvas a bit more aesthetically pleasing.


