
Today’s post will discuss how to import a reduced order model (ROM) using a model exchange functional mockup unit (FMU). The FMU Import tool is great for reducing computationally expensive design iterations and testing component performance under a variety of network configurations. In today’s example, we will walk through how to import a ROM created in ANSYS Workbench and run it in Flownex. For today’s example, I will be using Flownex version 8.14.1.4845 and ANSYS version 2023R1.
FMU Export
We will start by with a ROM of a simplified heat exchanger created by following the ANSYS Design Xplorer for “ROM Production for Fluent” Demo.

After creating a ROM, we need to export it as an FMU 2.0 file before we can add it to our network. We can easily accomplish this by clicking on the “Export ROM” button in workbench.

Next, we will need to specify the .fmu filetype before exporting our ROM.

FMI Import
Now we are ready to import the ROM into Flownex. We will create a new Flownex project and navigate to the import ribbon tab. We will select the FMU Import icon.
This will allow us to import the model exchange FMU we just exported. We will open the location of our export and select the corresponding file.

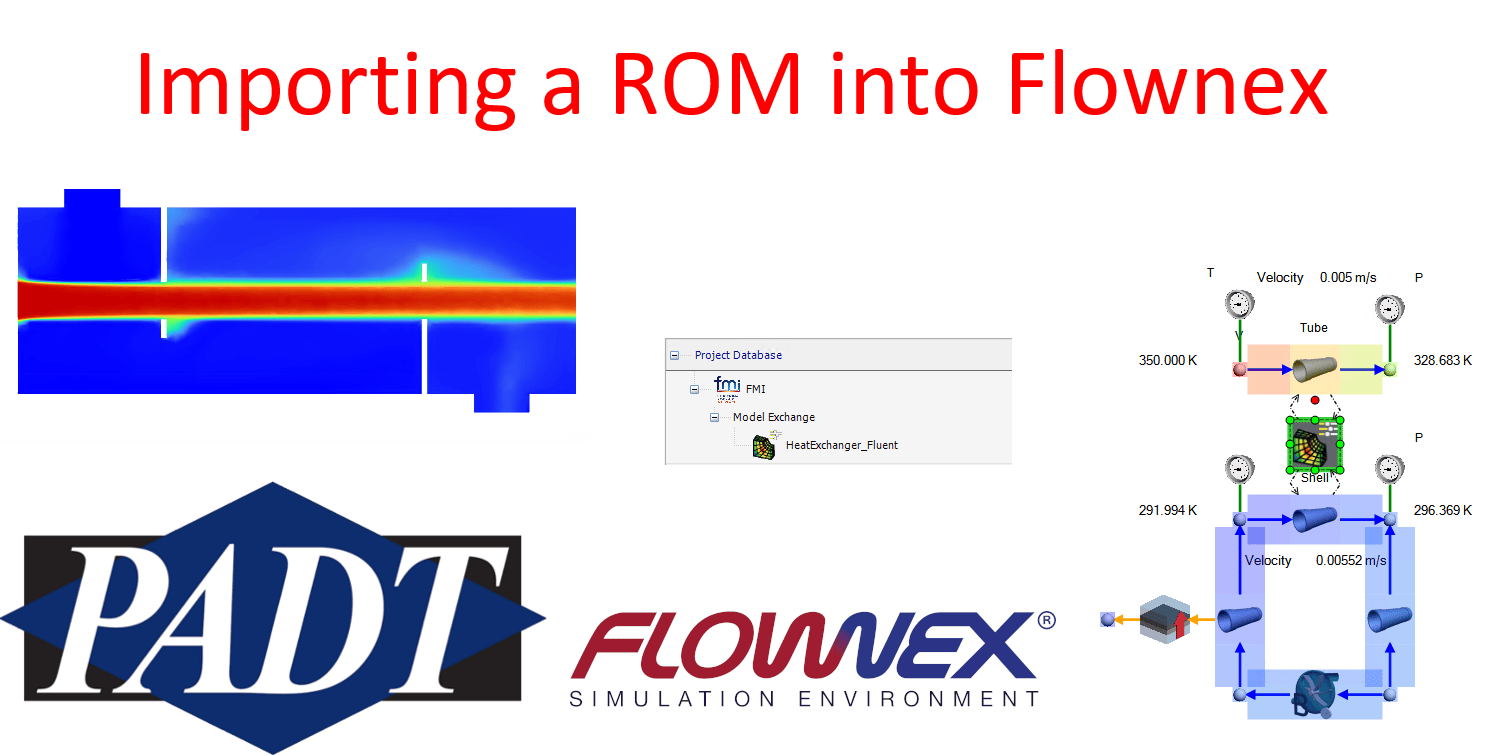
Now you will notice an additional Functional Mockup Interface (FMI) Component Library in the Project Database. Our FMI will appear under Model Exchange.

The Model Exchange category contains FMIs that the Flownex solver numerically evaluates without using 3rd party software. The Co-Simulation FMU option is also available, but that will not be covered in today’s post.
Now we can drag the “HeatExchangerFluent” FMU component onto the canvas. Next, we can click on our FMU and allow it to solve during steady state.

Now we have successfully imported an FMI into Flownex. If we specify appropriate parameters, Flownex will resolve the FMI during a steady state solve. This will allow us to quickly and easily resolve our Fluent model within our range of operating conditions.
Integrating an FMI Into a Network
Next, we will use this model to drive the exit temperature of the tube and shell side based on inlet velocity and temperature. This simple model will use pipe components for both sides of the heat exchanger. We will add a pipe onto the canvas and set the volume flow and inlet temperature.

The tube diameter will be set to match the tube inlet/outlet diameter of our 3d model. Next, we will check “Specify advanced inputs” in the pipe input properties and select “Fixed exit temperature” for the Heat option. This will allow us to easily specify the exit temperature, while allowing Flownex to calculate heat transfer in our pipe.
Now we can use data transfer links to read the velocity and inlet temperature form our pipe.

Similarly, we can specify the corresponding exit temperature from our inputs.

Lastly, we can specify our shell velocity and temperature.

Now we can solve or network in steady state to calculate the tube side outlet temperature.

Additionally, we can model the tube side in a similar manner. It is also important to note that the FMI may be used to model only one side of a heat exchanger.

Now we can quickly iterate through cooling loop network designs using the FMI.

This network is able to solve in approximately 1.5 seconds allowing us to easily iterate preliminary designs or run a parametric study.
Now we have learned how to integrate a ROM into a Flownex network using a Model exchange FMI created in ANSYS Workbench. The FMU Import tool is great for reducing computationally expensive design iterations and testing component performance under a variety of network configurations. This can be a very useful tool to integrate complex components or subsystems into your network model without sacrificing runtime.


