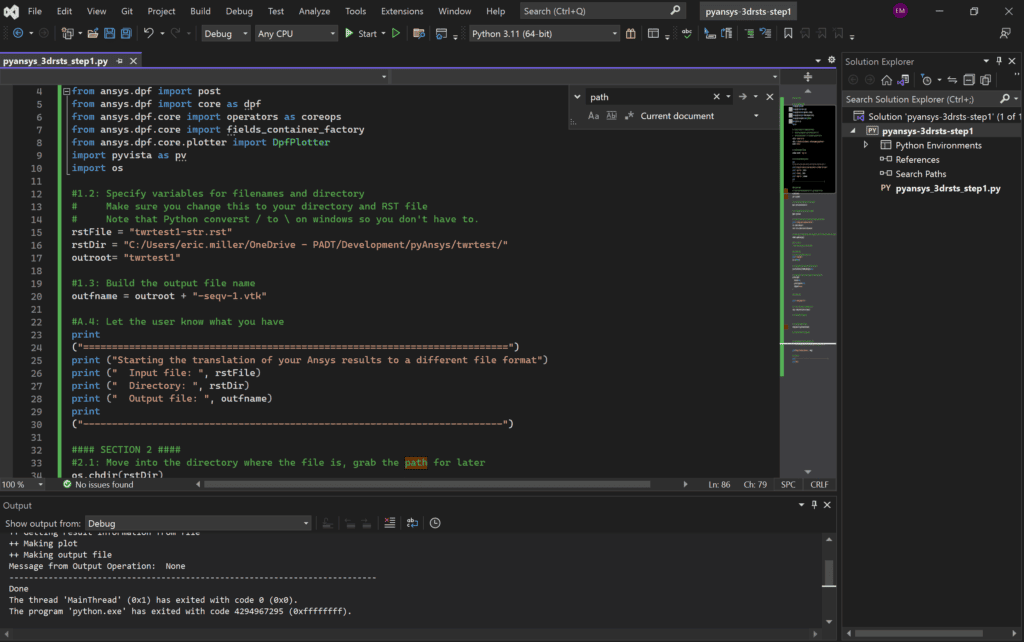
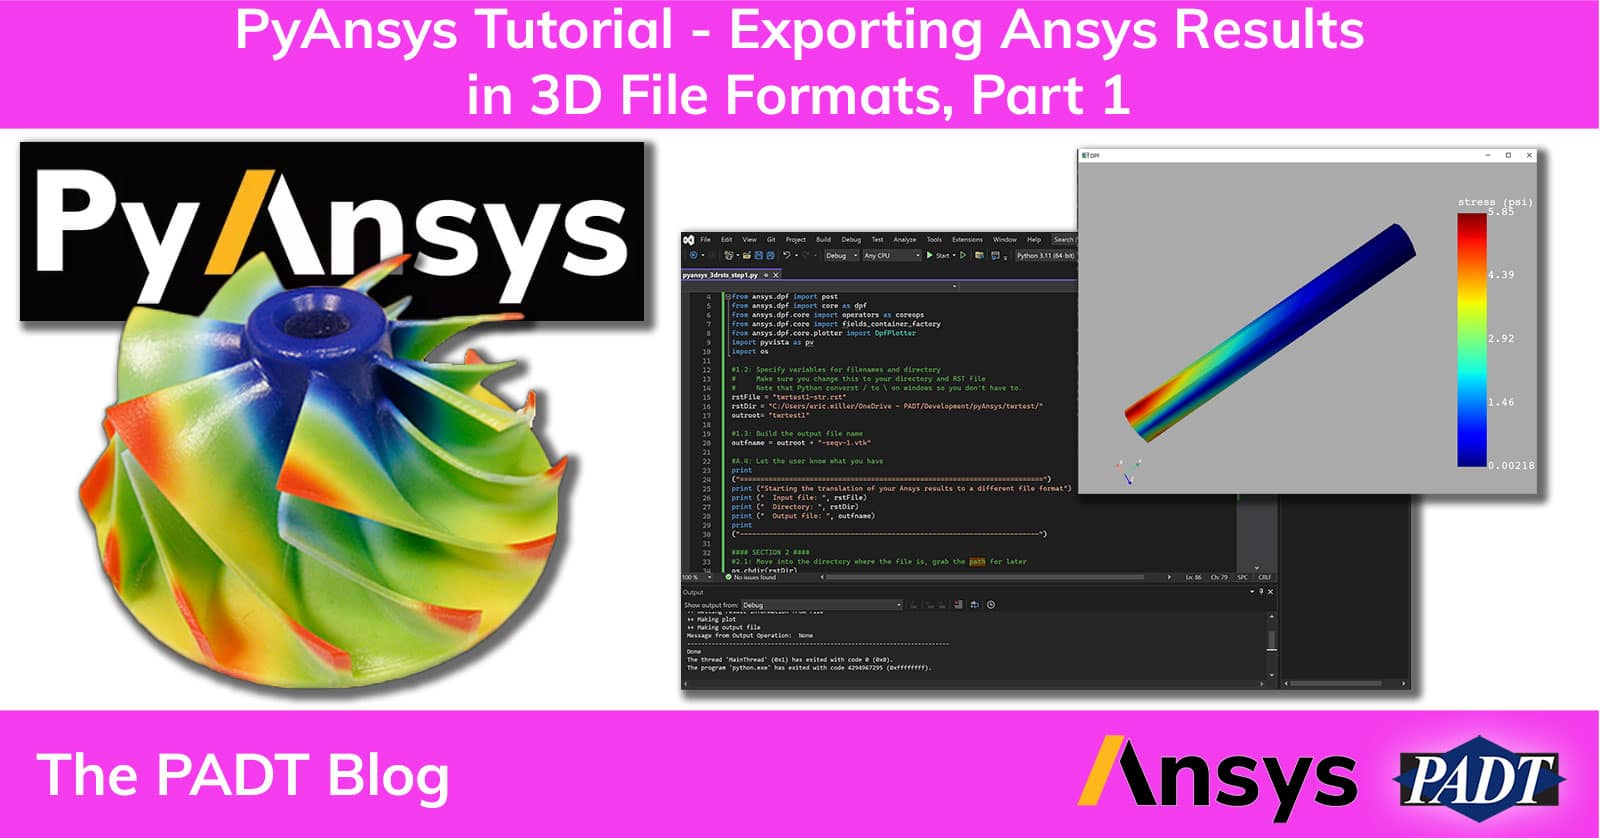
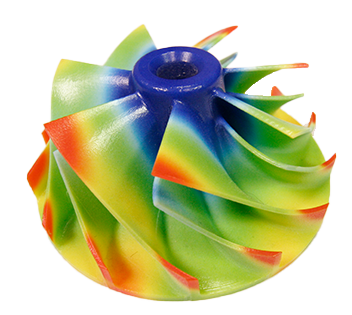
It is finally time to learn PyAnsys. Getting simulation results out of Ansys Mechanical and Ansys MAPDL has been an obsession of mine for many more years than I care to admit. It started when we got the first color printer on my first job and continues today when I want to 3D Print my stress results. My last effort was a series of blog posts updating how to output all sorts of 2D and 3D formats. But that 3D format part was a kludge. We needed something better for 3D file formats.
I also wanted to learn PyAnsys. Well, the two seemed like a great combination. So, with the help of PADT’s Alex Grishin, who has shared his PyAnsys adventures here as well, I got going. And, because I really don’t have time to do fun things often, after a lot of starts and stops, I have the tool I was looking for. This post will look at getting a very simple Python script going that reads a result file, plots the results to the screen, then saves a VTK file. In later posts, we will add distortion, output to other file formats, then add a graphical user interface.
Before we Can Export to 3D File Formats, We Have to Get Started with PyAnsys
The great thing about Python is that there are hundreds of libraries that do almost anything you need. The worst thing about Python is that there are hundreds of libraries that all act a bit differently. And most are written by volunteers and are free, which is also a two-edged sword. So to use one of those libraries, PyAnsys, we need to not just load Python on your machine but also a bunch of other libraries.
If you don’t have Python installed, go to python.org, then in the top menu, choose Downloads > Windows. Look for the latest release, click on that and scroll to the bottom and download the 64-bit Windows installer. It should be marked as “Recommended”
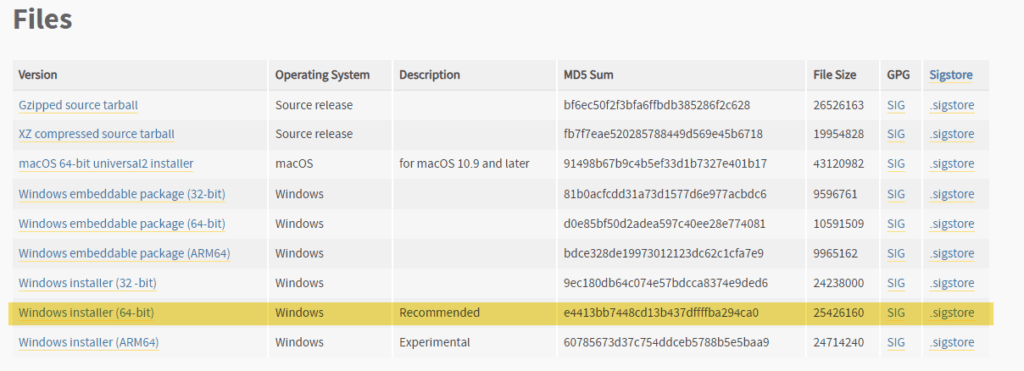
Go ahead and install it. The basic package comes with a development tool called IDLE, and you can use that. Or, if you know another platform that supports Python, use what you like. PyAnsys doesn’t care.
If you are new to Python or rusty like I was, now is a good time to search the web for some simple tutorials to get you up to speed. The documentation page on python.org is a good place to start. But there are thousands of resources out there. Once you feel comfortable with Python, come back and get going with pyAnsys.
Next, we need to start installing libraries and to do that, we need a tool called “pip.” If it is not already installed, you need to add it. To do so, open a Windows Command Prompt window and type:
py -m ensurepip --upgradeWe are almost ready to start using PyAnsys. But first, visit the Ansys documentation for PyAnsys. Everything you will need from the Ansys side of things is here. Bookmark this site. Before you do anything, go through the “Getting Started” page and use pip to install the libraries you need. Here is what you will need for this tutorial:
py -m pip install ansys-dpf-core
py -m pip install ansys-dpf-post
py -m pip install pyvista
The other thing you will need is an RST file with some displacement and stress results in it. I recommend you build a simple tower or flat-plate-with-a-hole-in-it model in Ansys Mechanical and then grab the RST file and put it in a directory where you will write your code. I’ve included the RST file from my “Tower of Test” in the zip file at the bottom of this post.
Time to Use PyAnsys to Extract a VTK File of Equivalent Stress
For this first PyAnsys script, we are going to hard code in a lot of options that will be variables in the next version. Our goal here is:
- Setup the process
- Open the file, get the mesh and stresses
- Plot the stress values on the mesh
- Output the contoured mesh as a VTK file
We will step through each bit of code for each of these steps. The zip file at the bottom of this post will have it all in one file, but you can also copy and paste as we go.
1: Setup the Process
In this section, we set stuff up and echo back the information. It’s a good idea to start with this chunk, run it, and make sure you don’t have any errors.
#### SECTION 1 ####
#1.1: Get all modules loaded
from ansys.dpf import post
from ansys.dpf import core as dpf
from ansys.dpf.core import operators as coreops
from ansys.dpf.core import fields_container_factory
from ansys.dpf.core.plotter import DpfPlotter
import pyvista as pv
import os

#1.2: Specify variables for filenames and directory
#     Make sure you change this to your directory and RST file
#     Note that Python converst / to \ on windows so you don't have to.
rstFile = "twrtest1-str.rst"
rstDir = "C:/Users/eric.miller/OneDrive - PADT/Development/pyAnsys/twrtest/"
outroot= "twrtest1"

#1.3: Build the output file name
outfname = outroot + "-seqv-1.vtk"

#1.4: Let the user know what you have
print
("==========================================================================")
print ("Starting the translation of your Ansys results to a different file format")
print ("  Input file: ", rstFile)
print ("  Directory: ", rstDir)
print ("  Output file: ", outfname)
print
("-------------------------------------------------------------------------")
2. Open the file, get the mesh and stresses
Opening the RST file and getting at the mesh and stress is a bit anticlimactic. You stick the solution into a solution object, then pull the stress and mesh from there. For this first case, we are hardcoding the extraction of equivalent stress from the first solution set. In the next version, we will use variables to make it more usable.
But for now, go ahead and add this bit and make sure you can grab the stresses and mesh without an error.
#### SECTION 2 ####
#2.1: Move into the directory where the file is, grab the path for later
os.chdir(rstDir)
path = os.getcwd()

#2.2: Load the solution from the rst file into "mysol"
mysol = post.load_solution(rstFile)

#2.3: Load the mesh from the solution into "mymesh"
mymesh = mysol.mesh

#2.4: Frab the stresses from first solution step, then get equivilent stress
print ("++ Getting result information from file")
str1 = mysol.stress(set=1)
rstval = str1.von_mises.result_fields_container

#2.5: Make a copy of the mesh
      Note: we don't need a copy now, but we will in the
            next version of this script
theMesh = mymesh.deep_copy()
If you really want to understand what is going on when you do a mysol.mesh, you should look at the PyAnsys documentation. I’ll be honest… the documentation is a bit confusing and sometimes it takes a while to figure out what is going on. To give a small example, let’s look at this getting the mesh from a solution.
- First look at the “load_solution”
- ansys.dpf.post.load_solution returns an ansys.dpf.post.Result object
- But if you look at the result object, it doesn’t tell you that .mesh is a property
- It is found in the DpfSolution class. This is where you can find all the things you can pull from the solution object you get when you do an = post.load_solution(rstFile)
- If you poke around in there, you will find how to point to almost everything in your result file.
For an “experienced” engineer like me who didn’t grow up with object-oriented programming, this can be a bit bewildering. But after poking around for a while, it starts to make sense. If not, ask someone under 40.
3. Plot the stress values on the mesh
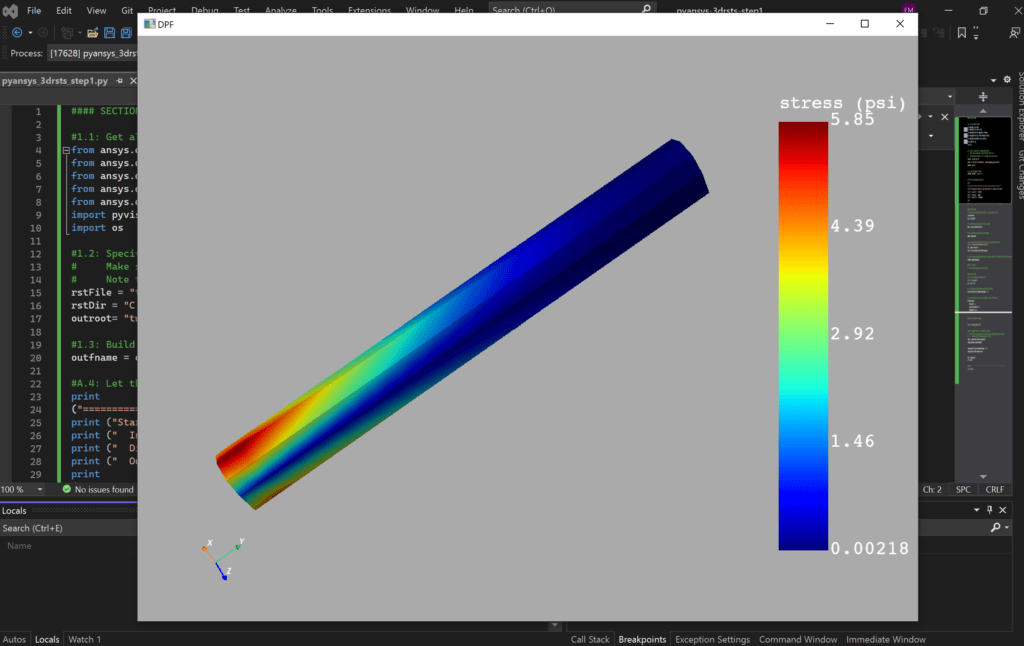
This is even simpler. PyAnsys has done all the heavy lifting for you under the hood. You basically create a PyAnsys plot object, add the mesh and result values to that object, and plot it.
Add this to your script and run it. It should bring up a gray square window with your results right in the middle. Use the left-mouse-button to spin the model, the middle to move it around, and the right-mouse-button to zoom in and out. When you are done, close the window, and your script will exit.
#### SECTION 3 ####
#3.1: create a Pyansys plotter object first
print ("++ Making plot")
plt = DpfPlotter()

#3.2: Add the mesh and the results you pulled into the plot
plt.add_field(rstval[0],theMesh,show_edges=False)

#3.3: show the plot. There are a ton of options, for now use the basics.
plt.show_figure(
    show_axes=True,
    parallel_projection=False,
    background="#aaaaaa"
)
4. Output the contoured mesh as a VTK file
Now it is time to write out your VTK file. Again, all the hard work is done by the modules. Just like plotting, you create an object, add the mesh, results, and other options, then run it. Paste this bit in and rerun. You should get a VTK file in the same directory as you have our RST file in.
I use ParaView to look at the files and convert it to other formats. More below on that.
#### SECTION 4 ####

print ("++ Making output file")

#4.1: Create a VTK operator for exporting to VTK
vtkop = coreops.serialization.vtk_export()

#4.2: Add the mesh to the operator
vtkop.inputs.mesh.connect(theMesh)

#4.3: Specify the output file name
vtkop.inputs.file_path.connect(outfname)

#4.4: Attach the results to the operatior
vtkop.inputs.fields1.connect(rstval)

#4.5: Run the operator, which creates the VTK file.
#     Print the message created by the operator, just in case you got an error
runMsg = vtkop.run()
print("Message from Output Operation: ", runMsg)

#4.6: Close out
print ("---------------------------------------------------------------------------")
print ("Done")
Here is what the VTK file looks like in ParaView:
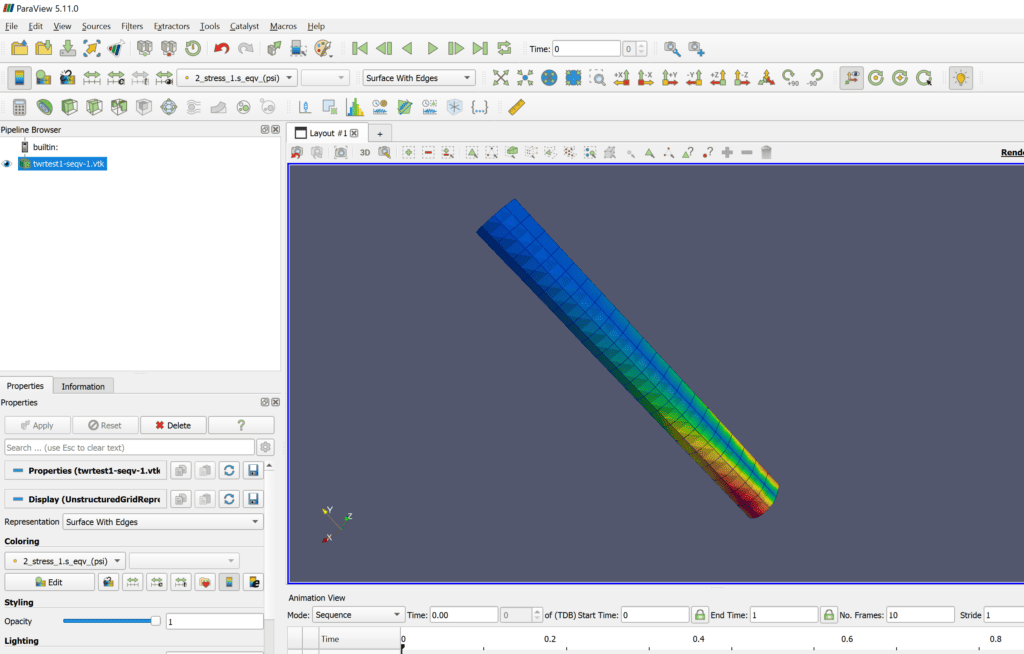
Above is what it looks like in ParaView. What is cool is that once you get the results and the colors you want in ParaView, you can export to a variety of formats. Go to File > Export View and pick one of the support formats:
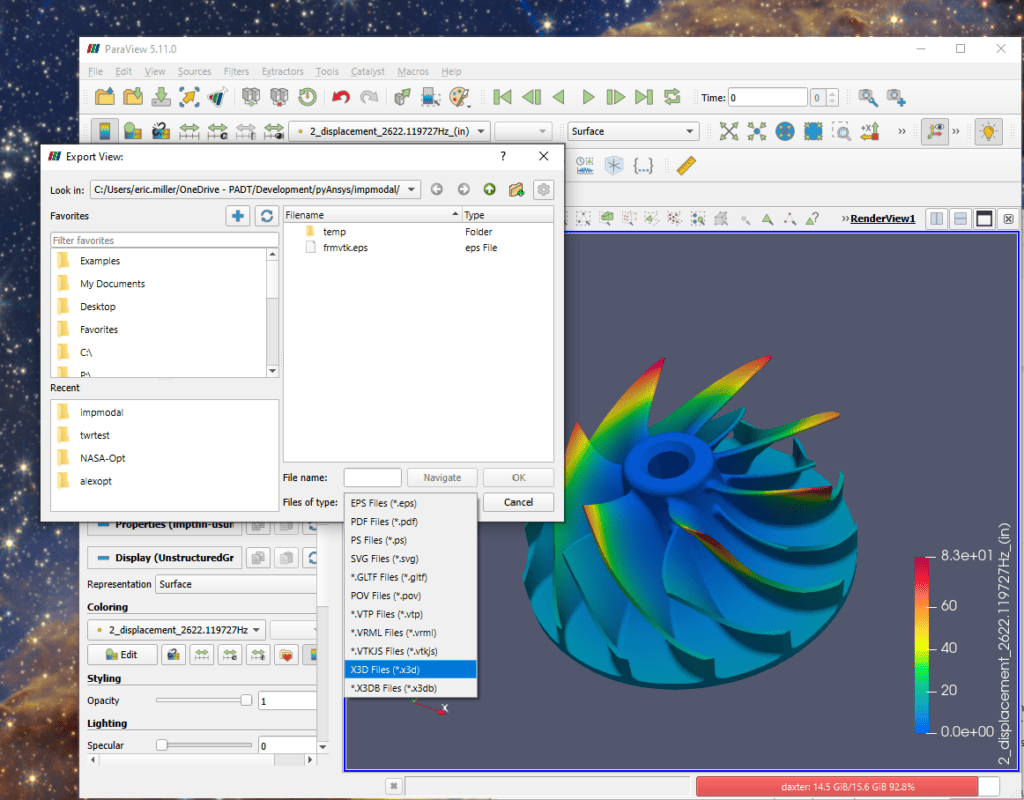
Two of these formats we will add in the next post, and one you can use Paraview to get
- EPS, PDF, PS, SVG: Don’t get too excited. It saves a raster and not a 3D Vector version of your results. Bummer
- GLTF: This is the most popular format for virtual reality. So if you want to view your results using the latest VR goggles, save to GLTF and drop it into your scene. We will add direct creation of this format in the next post.
- VRML: This is an old format, but if you change the extension to .wrl, you can 3D Print in full color with the Stratasys Polyjet printers using that file through GrabCAD. We will add direct creation of this format in the next post.
- X3D: This is the modern upgrade to VRML and is designed for viewing 3D objects on the web. I’ll update how to do this in the next post, but you can see how to do it in a post I did on 3D output a few years ago here.
Congrats, You Can Now Write Your Own Ansys Post Processor
OK, that may be an exaggeration. But the basics are there. You can grab what you need from a results file and either display it or save to a different format.
Here is a zip file with my RST, the VTK, and this first, simple script:
In the next part, we will add parameters, expose more result types, distort the mesh, and save to WRL/VRML… a format that most color 3D Printers can read.
When you are ready to move on, please continue with Part 2.
